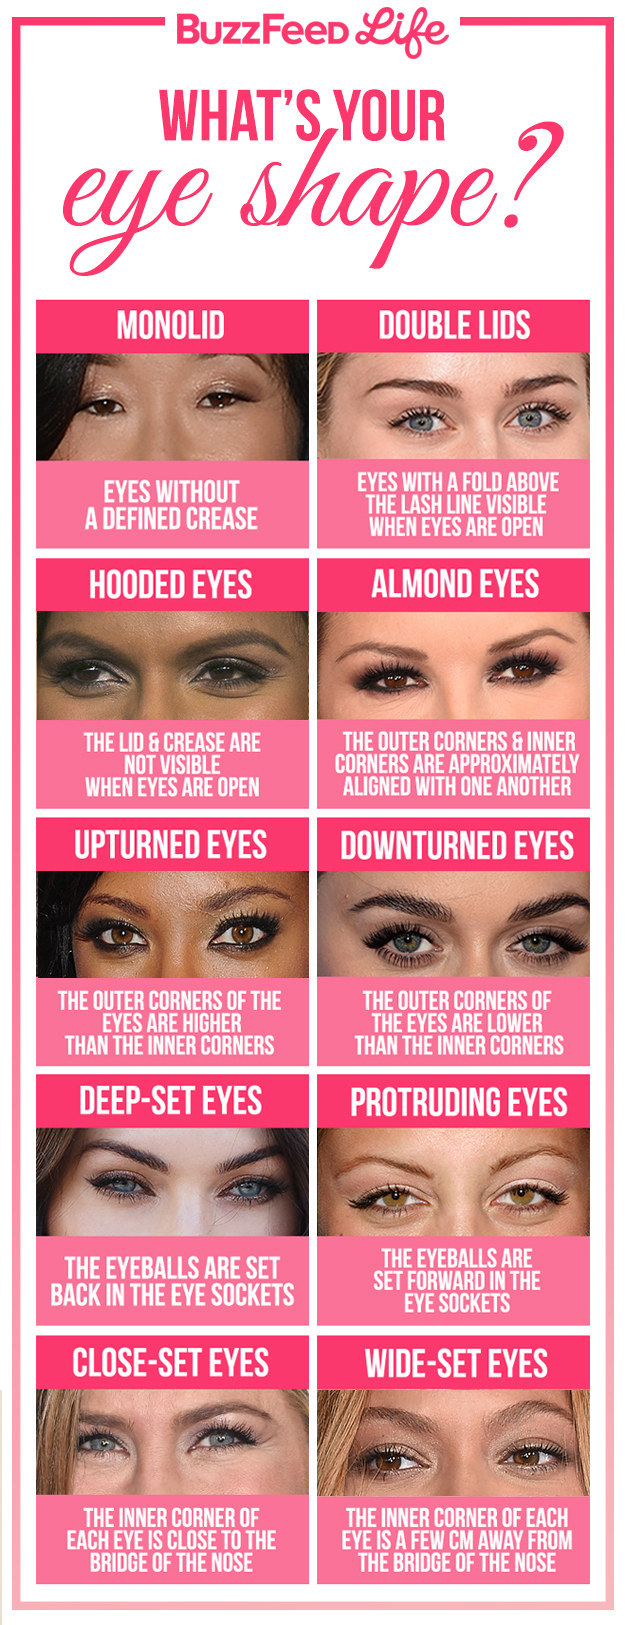
1. Figure out which eye shape you have, so you can learn more about different shading techniques that work best for you.
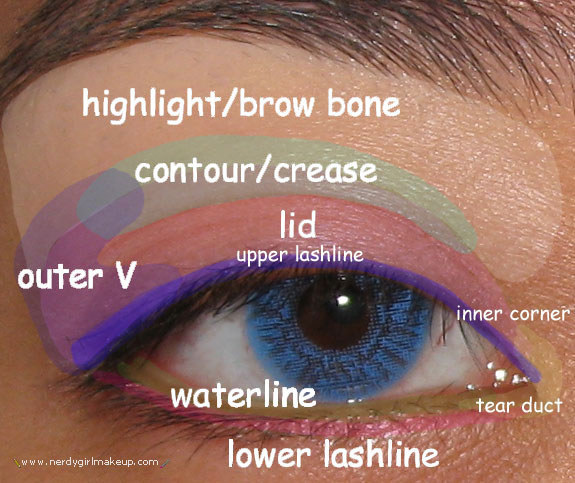
2. Learn the lingo so you know which part of your eye is what.
Everything makes more sense if you actually know what the tutorial is referring to by “crease.” From here.
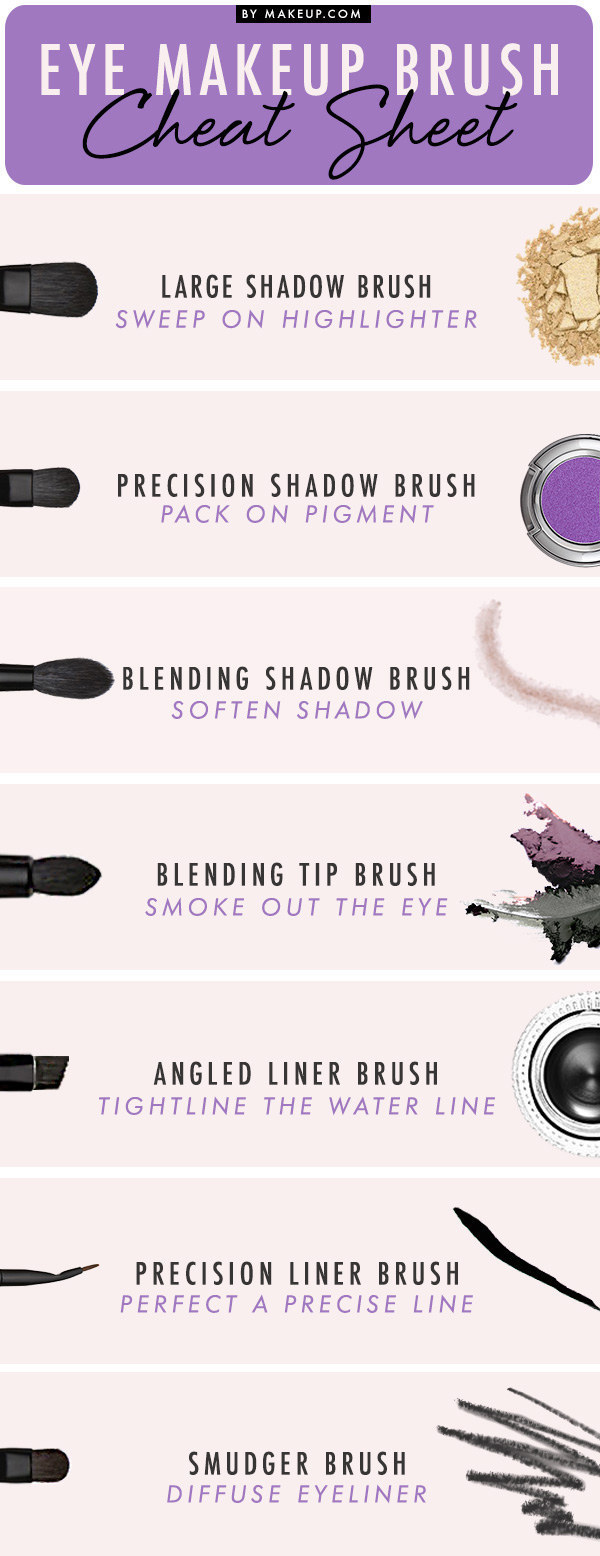
3. Learn what all of your brushes are meant to do.
If you’re struggling with blending, make sure you get a good blending brush. The MAC 217 is one of the most buzzed about, but there are plenty of less expensive options out there.
4. Choose the eyeshadow formula that works best for what you want.
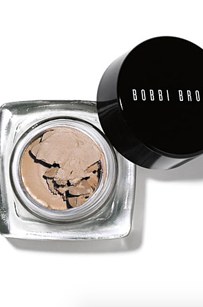
Cream eyeshadows work best as a base color for powder eye shadow, or for solid, single-color coverage.
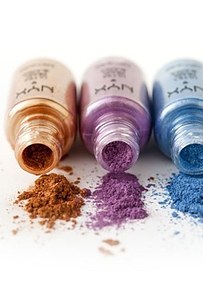
Loose eyeshadows are often where you find the most color pigment, but can be messy and tricky to work with.
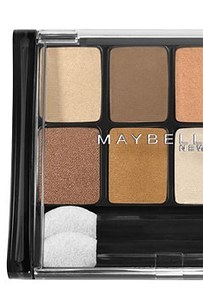
Pressed eyeshadows are the most common type of shadow, because they blend easily without being too messy.
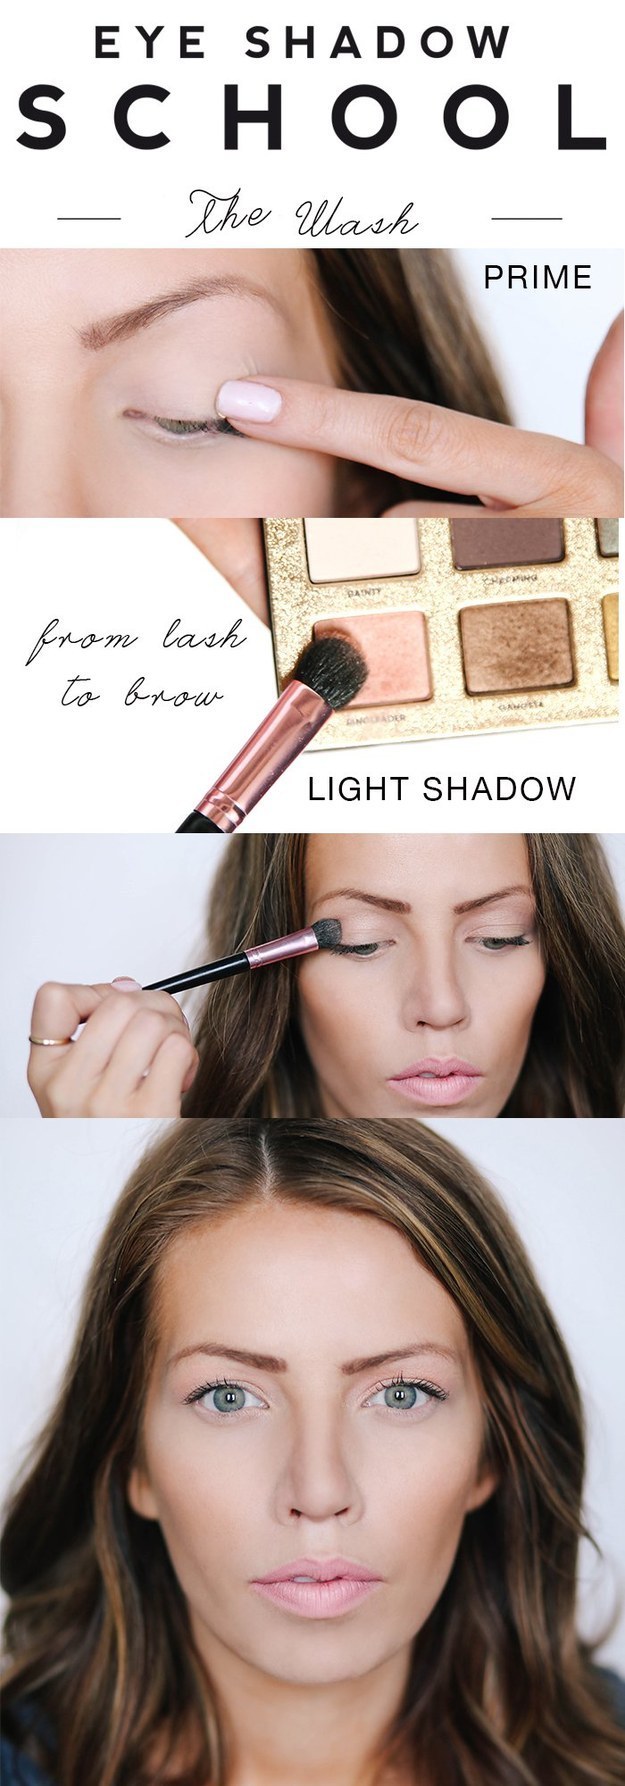
5. Don’t skimp on primer.
Priming keeps your eyeshadow from creasing or falling off as your day goes on. If your primer is translucent, dusting a layer of light eyeshadow over it will help the colors look brighter and closer to what you see in the palette. From here.
6. If you’re looking to make colors seriously ~stand out~, apply white liner before you apply eyeshadow.
Get more details on this tutorial here.
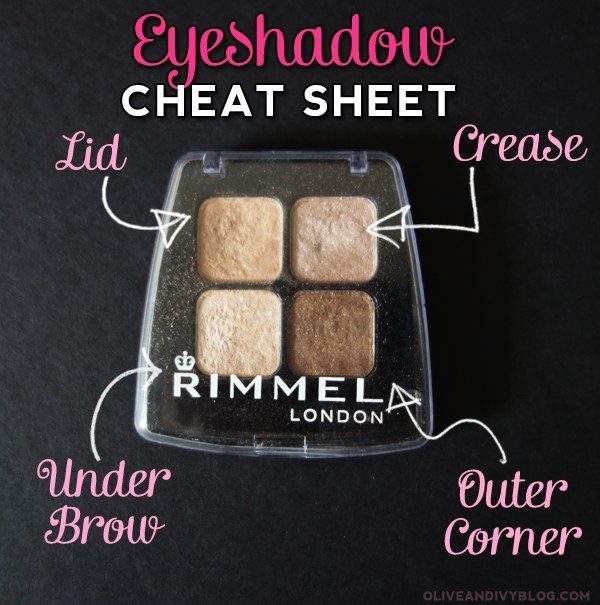
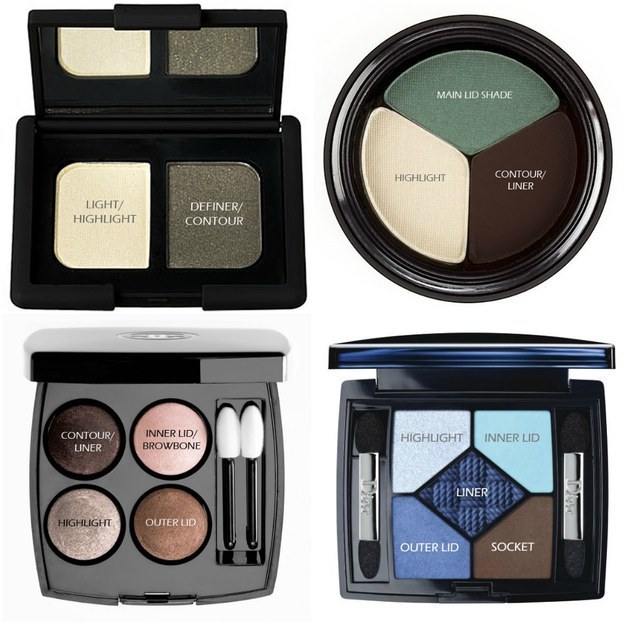
7. Figure out which shades of your basic eyeshadow palette are meant for each part of your eye.
It all depends on how you want to shade and shape your eye, but there are a few general guidelines:
The lightest color usually works well as a brow bone highlighter.
The second lightest color usually looks good on your lid.
The second darkest color usually works best in your crease.
The darkest color usually works best in your outer corner.
Full tutorial here.
8. Duos, trios, quads and quintets all have shadows meant for specific purposes.
See more info on where to apply each of these here. But remember, these are just guidelines — you can apply the shadow colors wherever you’d like.
9. Use small patting and dabbing motions to apply your all-over shadow color.
It will help you get a more pigmented, even layer of application than if you simply wipe the color over your eye. See the full tutorial here.
10. Practice blending using gentle motions with your blending brush.
Blending gently helps you avoid muddying up your colors. Because you’re gradually combining the colors, you can stop when they’re just right. Here’s the full tutorial.
11. After applying color to your crease, use windshield wiper motions to soften any harsh
Use a brush without any product on it at all: you’re not adding any more color, just gently distributing what you already have on your skin. Watch the full tutorial here.
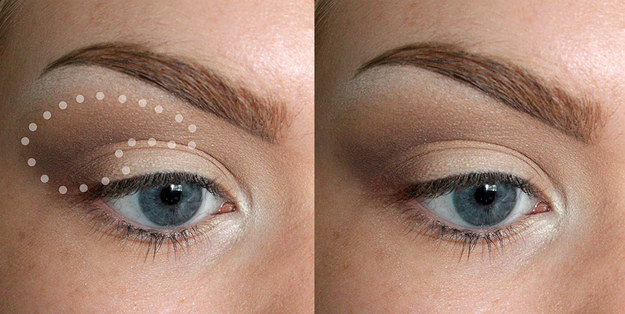
12. Don’t be afraid to make a very defined shape first, then blend it so the edges fade away.
Make sure you use those gentle blending motions mentioned above, so the shape you drew stays somewhat defined. See the whole tutorial here.
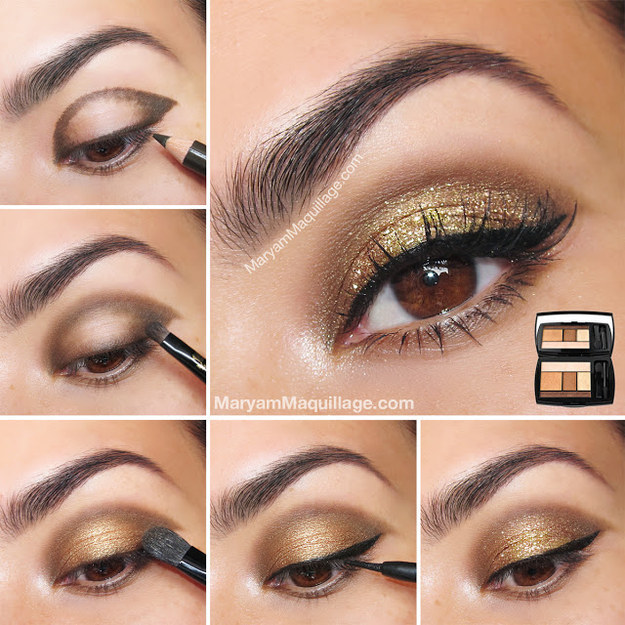
13. Or, use an eyeshadow pencil to draw a defined shape first, then gradually blend that out.
You can use a slightly lighter color and skip the gold glitter shadow for an everyday take on this look. Read the rest of the tutorial here.
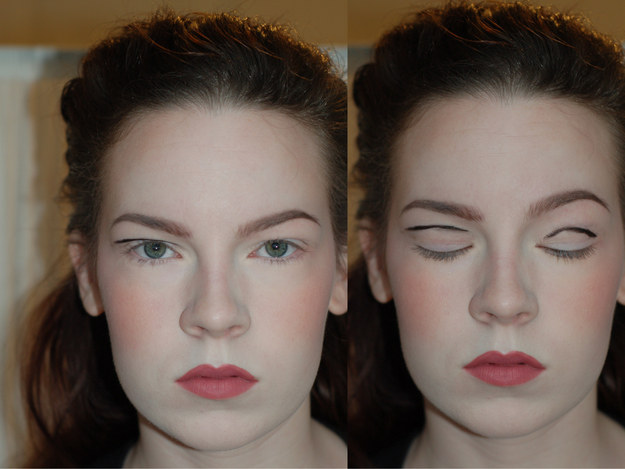
14. If you have hooded eyes, practice applying makeup with your eyes open instead of closed so your crease colors are actually visible.
Of course, you wouldn’t actually draw a black line and then head out for the evening, but the black line shows how applying shadow with your eyes open will give you a different, more visible shape. Get more tips for hooded eyes here.
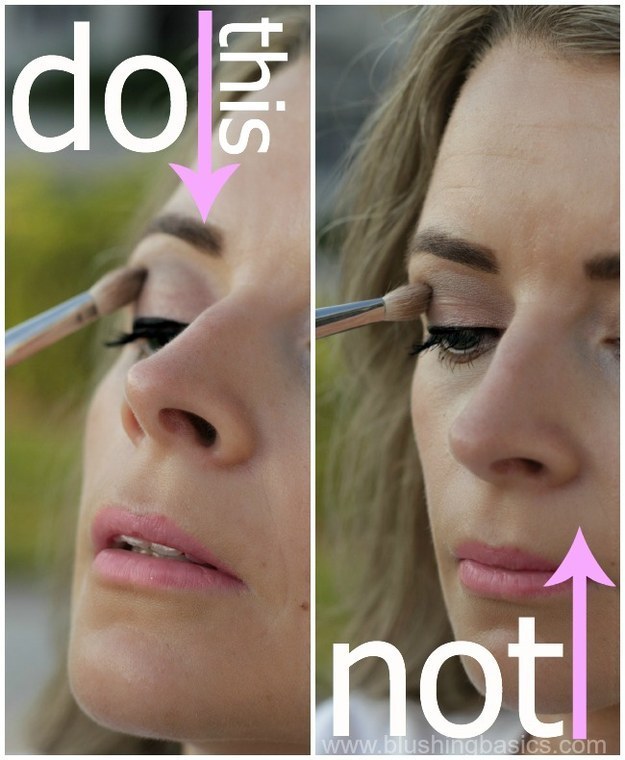
15. The easiest way to both find your crease and control the color? When applying, tilt your head up and look down into the mirror.
(But as always: practice makes perfect). From here.
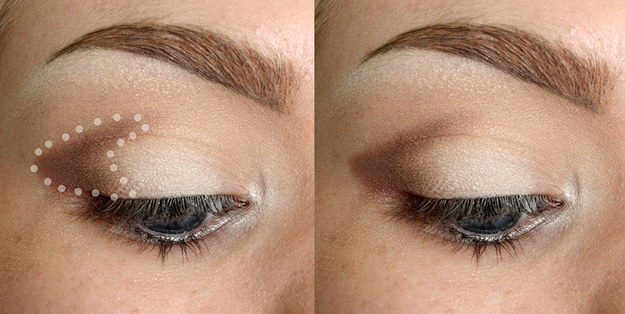
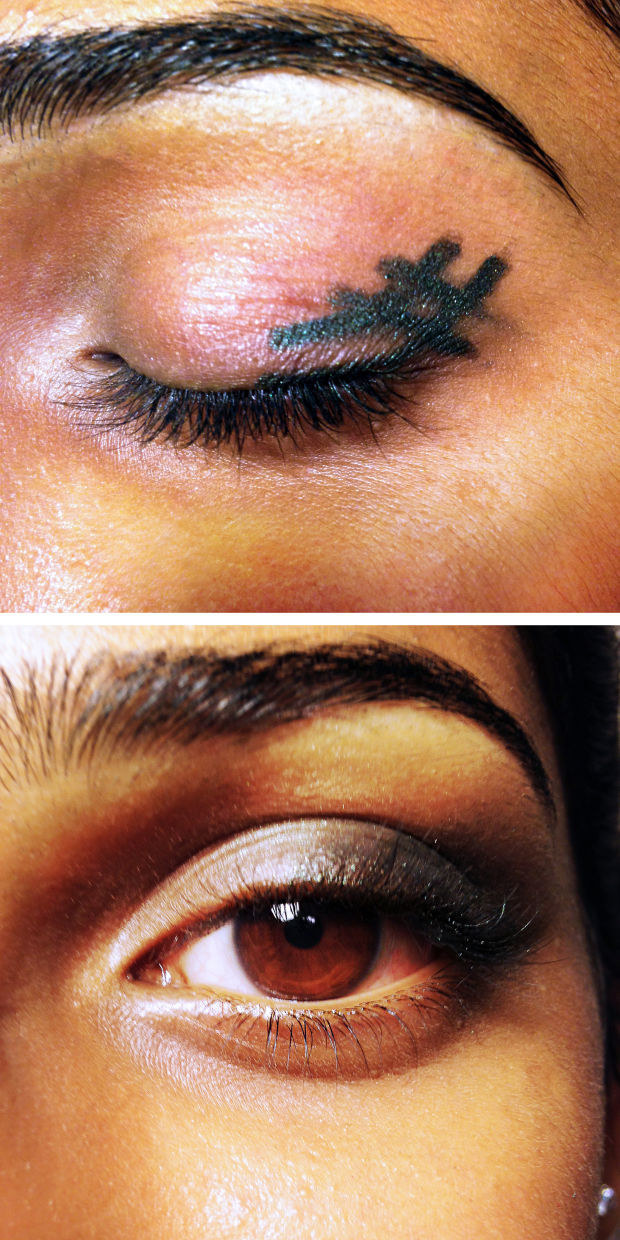
16. If you have trouble drawing a neat “outer v”, try starting with a hashtag shape.
You can use an eyeshadow pencil, eyeshadow on a stiffer-bristled brush, or even eyeliner pencil to draw the hashtag. Then, blend it out using a blending brush. If you used an eyeliner pencil and the brush isn’t moving the product around enough, try gently blending with a cotton swab instead. From here.
17. Makeup fallout is inevitable (especially with darker shadows), but there are definitely ways to fix it.
One note: before sticking tape to your face, stick it on another part of your body (say, your arm) first, then peel it off so it doesn’t hurt when you tap it against your more delicate face skin. Here’s the tutorial.
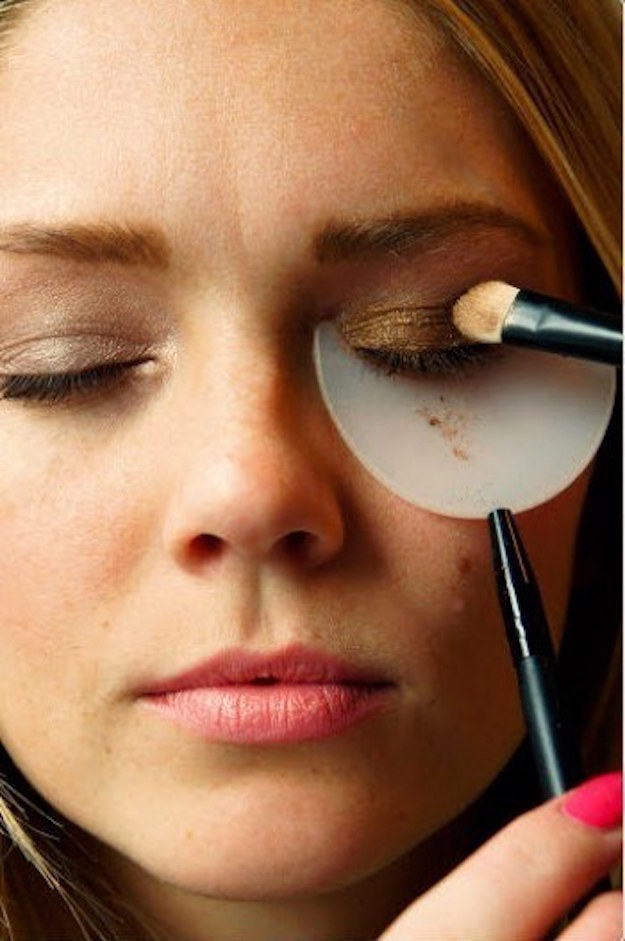
18. Or, pick up a shadow and mascara shield to hold under your eye as you apply.
Just $3, here.
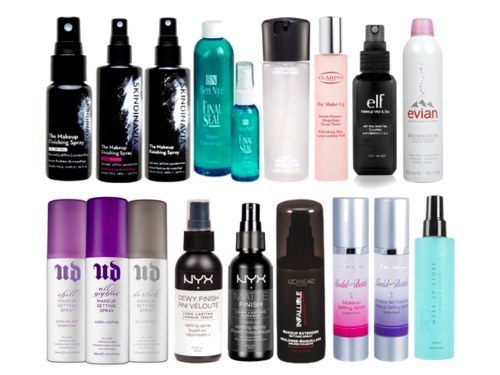
19. Keep all your hard work in place with a spritz of setting spray.
This is not a necessary step, but if your makeup doesn’t look like it’s still there at the end of the day, these can help. Just spritz *before* you apply mascara, so your mascara doesn’t run. Read more about different types of setting spray here.


