
EDIBLES
6 savvy ways to ensure grilling success this summer

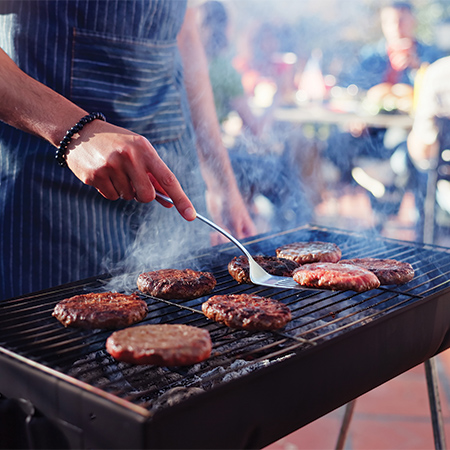
(Feature Impact) There’s just something timeless about a summer cookout with friends, family or neighbors. Whether it’s the sound of burgers sizzling on the grill or the smell of your favorite seasonal sides, the event invokes nostalgia and camaraderie.
While the spotlight may land on the burgers and barbecued fare, seasoned grill masters know the supporting cast matters, too. Makers of soft, delicious hamburger and hot dog buns fit to be the foundation of summer gatherings for more than 100 years, the bun experts at Wonder suggest a few ways to ensure your entertaining ventures are successful throughout the season.
Do What You Can Ahead of Time
Stick to a mix of easy favorites and make-ahead sides to keep prep manageable while offering something for everyone to enjoy. When possible, prep ahead of time so you can keep your focus on the fun and your attention on the hot grill. Chop vegetables, wash lettuce for burgers, make sure you have picked out the perfect buns, form and season beef patties and mix marinades the day before the big bash to avoid last-minute rushes around the kitchen.
Prep the Grill
Patience is key when it comes to grilling, as a properly heated grill is the foundation for good cooking. Give gas grills enough time to come to temperature, around 10-15 minutes, and allow charcoal to ash over completely. When grilling different types of food, it’s especially helpful to set up cooking zones – direct and indirect – so you can cook meat, veggies and buns differently or move finished food to one side, as needed.
Additionally, to help prevent sticking, lightly oil the clean grill grates before cooking. Using tongs and a paper towel dipped in oil is often more effective than coating foods with oil.
Use a Meat Thermometer
You may be a seasoned grill master, but guesswork can lead to mistakes, especially when cooking for a crowd. Avoid overcooked (or worse, undercooked) chicken and burgers by using an instant-read thermometer to help ensure meat is cooked safely while retaining its juicy flavor.
Grill Buns Correctly
 Burgers and hot dogs are classics for a reason, but avoiding soggy buns and mid-bite fallout requires the right bun for the job. Striking the perfect balance of pillowy softness with the structure to hold their shape through every loaded topping, condiment and bite is key when choosing the right bun for the job. More than just a vehicle for grilled favorites, Wonder Classic Hamburger and Hot Dog Buns are a familiar taste that makes cookouts delicious and have held it together, literally and figuratively, for more than a century. In continuing its longstanding partnership with the USO through the annual Deploy the Joy campaign, you can keep an eye out through Sept. 12 for special packaging on select products with scannable QR codes for a chance to win a $10,000 Birthday Bash.
For great grilled buns, follow a few easy steps:
- Brush cut sides of buns with softened butter, mayo or both to help the bun brown evenly.
- Lightly salt the buttered side before grilling.
- During the last 2 minutes of cooking burgers or dogs, place buns cut-side down over medium-low heat for 30-60 seconds. Look for a light golden toast, crisp enough to hold up.
Let Food Rest Before Serving
After grilling, give meat a few minutes to rest before serving or slicing. This allows juices to redistribute throughout the food for better texture and flavor.
Layer Burgers, Condiments and Toppings
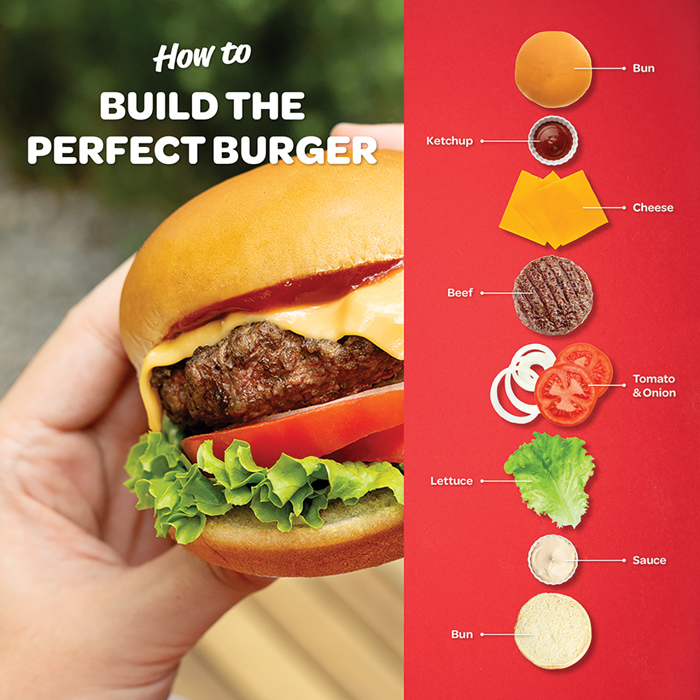
After toasting buns, add a thin layer of sauce to coat the bun then lettuce that’s been patted dry to remove moisture. Add cheese to the opposite bun and be sure to place the burger and other toppings in the center to keep moisture away from the bread, preventing sogginess. Follow this simple order for sturdy buns:
- Toasted top bun
- Condiment or sauce
- Cheese
- Burger
- Tomato and onion
- Lettuce
- Condiment or sauce
- Toasted bottom bun
From simple, practical menus to crave-worthy twists on classics, you can find more ways to host a successful summer barbecue by visiting WonderBread.com/recipes.
Photo courtesy of Shutterstock (grilling hamburgers)
SOURCE:
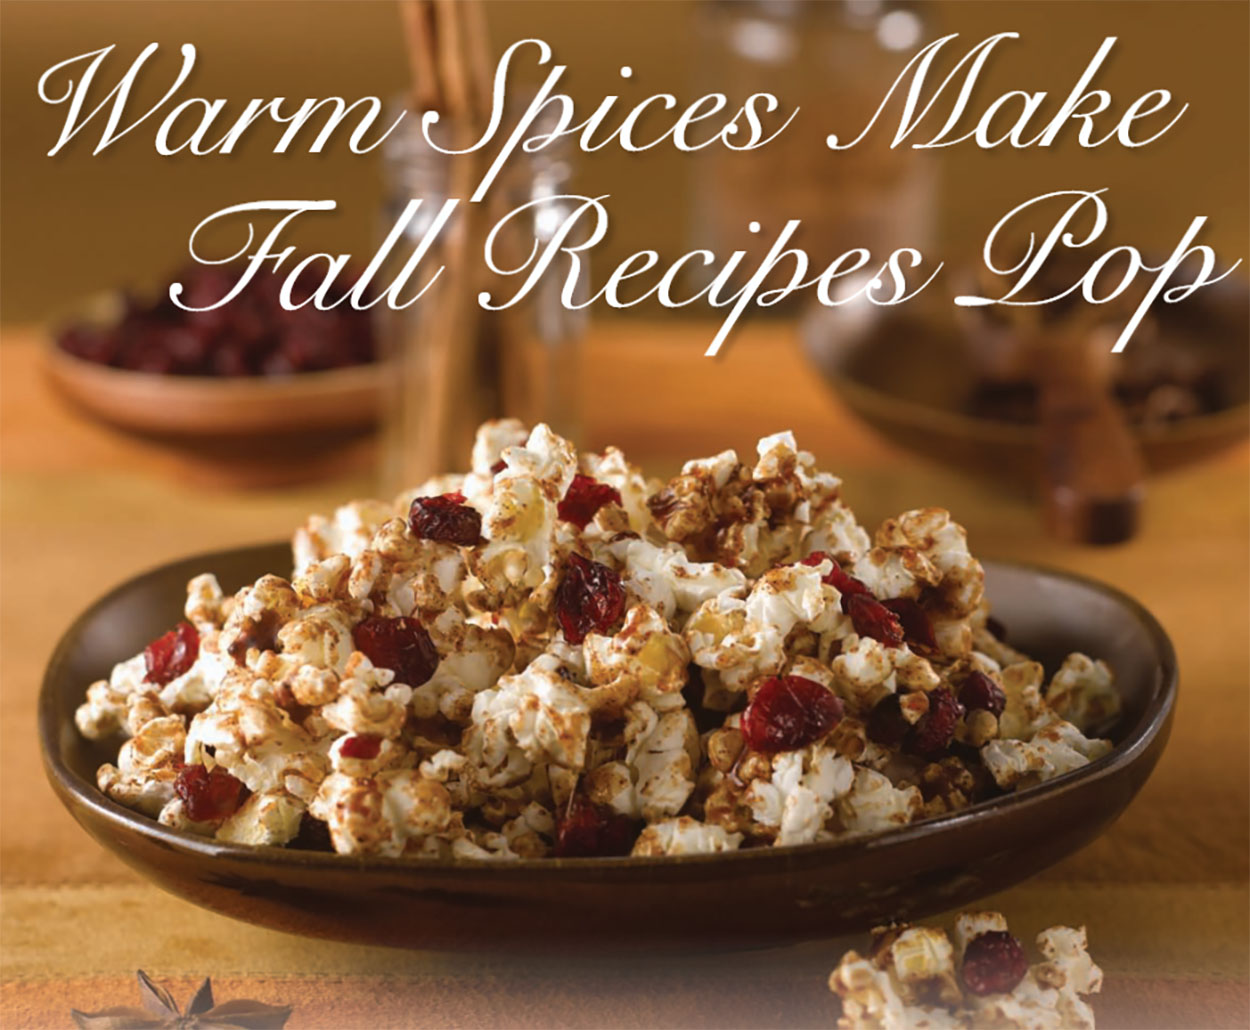
Spices are the key to great cooking year round, but especially during the holiday
season. What would apple cider, gingerbread cookies or pumpkin pie be without their distinct spicy flavors? Bland! Spices, whether subtle or bold, make the difference between an average meal and a memorable one. Fall is an earth-toned season filled with a pallet of warm colors, so it’s fitting that we also connect the season with “warm” spices.
Warm spices are known for their strong and fragrant flavor and include cinnamon, ginger, nutmeg, cloves and cardamom. Variations of these spices are mixed together and sold as pumpkin spices, gingerbread spices and garam masala. As the weather cools, try combining
these warm flavors with another fall favorite—popcorn. Popcorn is a whole grain that provides carbohydrates and fiber to the diet and is naturally low in fat and calories. Consuming at least 3 or more ounce equivalents of whole grains per day can reduce the risk of several chronic diseases and may help with weight maintenance. That’s good news for your waistline. As health- conscious cooks look for ways to add taste appeal to snacks like popcorn, pairing them
with warm spices is a great solution.
Cinnamon-Spice Berry Popcorn
6 cups air-popped popcorn
3 tbsp. brown sugar
3 tbsp. light corn syrup
1 1/2 tsp. cinnamon
1/4 tsp. ginger
1/4 tsp. nutmeg
1/8 tsp. cloves
1 1/2 tbsp. light margarine
1/2 cup Craisins
- Combine brown sugar, corn syrup, spices,
and margarine in microwave-safe bowl;
cook on HIGH heat for 2 1/2 minutes
until bubbly hot. - Add Craisins to popcorn; toss with hot sugar
mixture until well coated. Cool mixture
before serving or store in airtight container.
Serves: 4
Maple Pumpkin Spice Popcorn
2 tbsp. brown sugar
2 tbsp. maple syrup
1 1/2 tsp. pumpkin spice mix
1 tbsp. butter or margarine
1/2 cup chopped pecans, optional
5 cups popped popcorn - In a large saucepan or pot, heat brown sugar,
maple syrup and pumpkin pie spice mix
over medium heat. Cook, stirring, 3 minutes
or until sugar is dissolved and mixture is
bubbling. Stir in butter until melted and well
blended. Add pecans, if desired, and popcorn
and stir until well coated. - Allow mixture to cool before serving. Serve
immediately or store in an airtight container.
Yield: 5 cup
Pop Up a Celebratory Snack
Popcorn lovers rejoice: October is National Popcorn Poppin’ Month, a seasonal celebration of one
of America’s oldest and most beloved snack foods.
As farmers head into the fields to harvest crops, families and friends gather to enjoy this ever-
popular treat. Whether it’s prepared on the stovetop, in the microwave or ready to eat from the
bag, Americans consume 14 billion quarts of this whole grain each year.
Celebrated for its seed-to-snack simplicity, popcorn is also non-GMO, vegan, gluten-free, sugar-
free and naturally low in fat and calories, which makes it an easy fit for dietary preferences – and
it’s budget-friendly.
Add in popcorn’s irresistible smell, taste and versatility, and it’s easy to understand its
popularity. With so many different ways to eat it –plain, buttered or blended with the irresistible
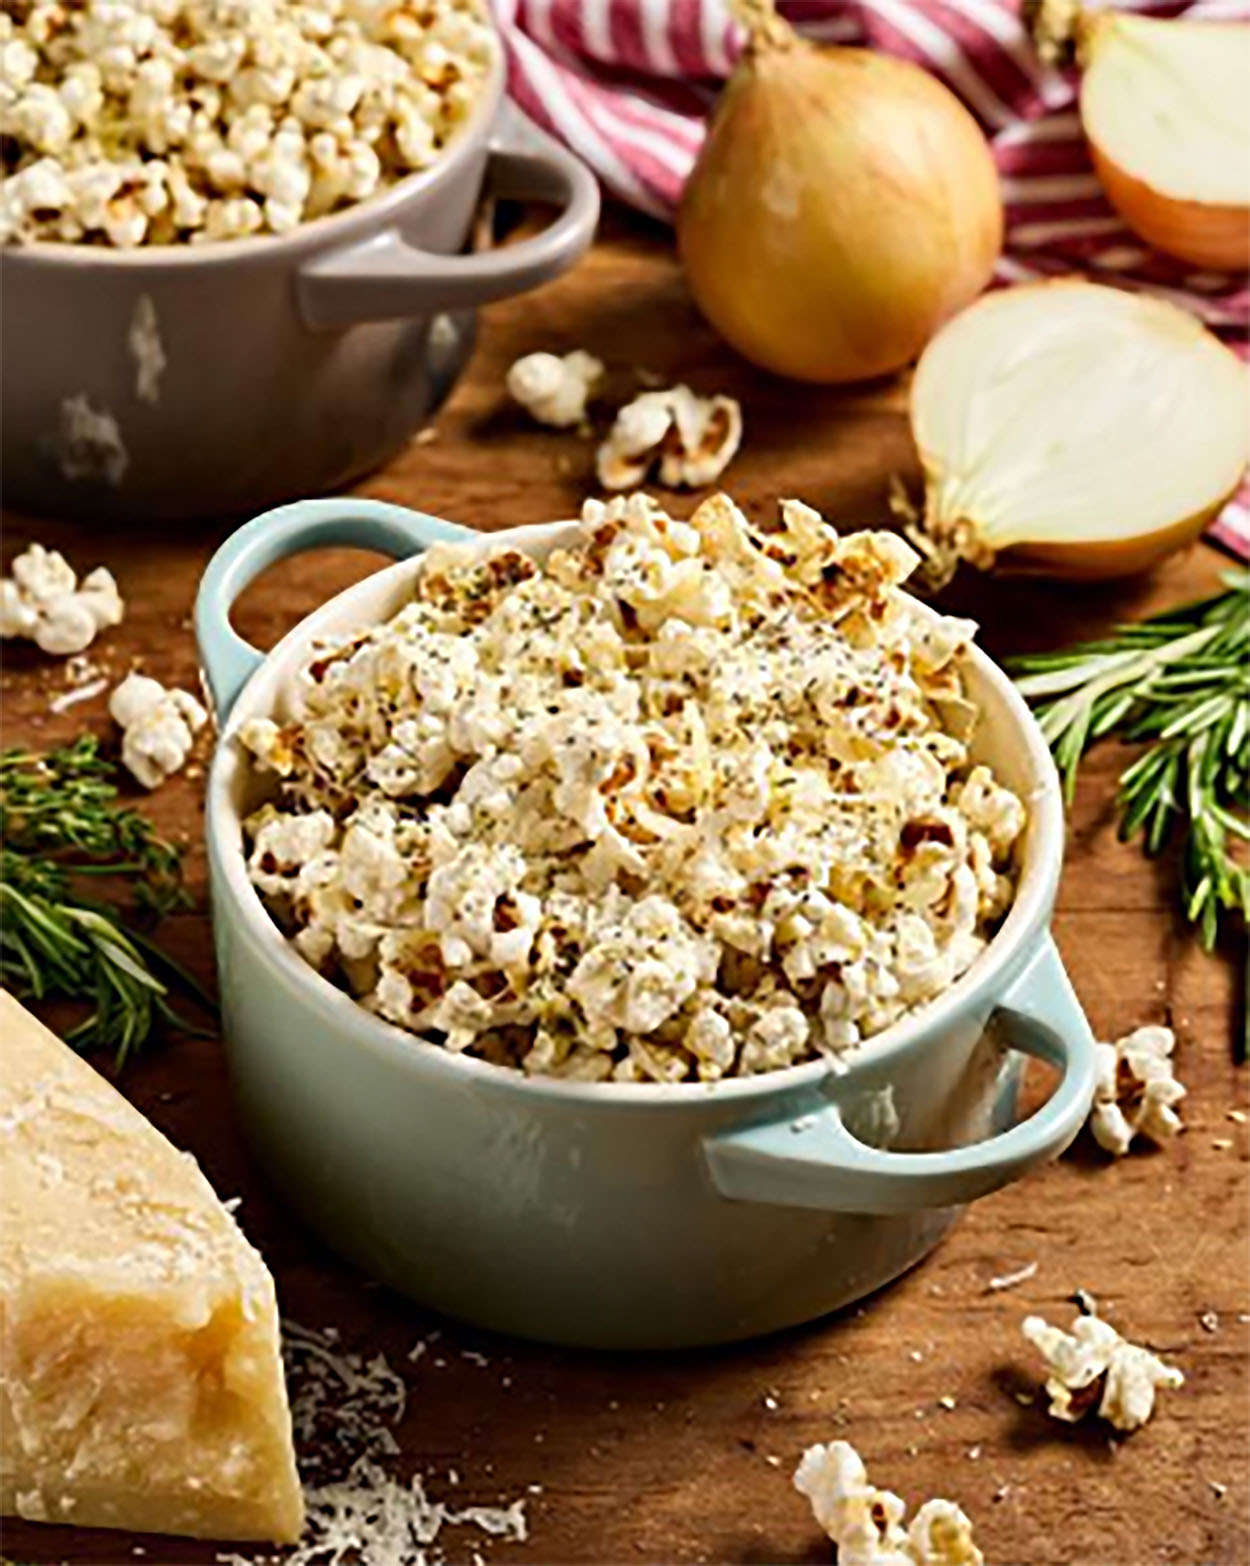
flavors of this French Onion Popcorn recipe – popcorn fits many moods and occasions.
Pop up a bowl and join the Popcorn Poppin’ Month celebration with more recipes at popcorn.org.
French Onion Popcorn
Ingredients
- 10 cups popped yellow popcorn
- 3 tablespoons unsalted butter
- 1 teaspoon onion powder
- 1/2 teaspoon garlic powder
- 1/2 teaspoon dried thyme
- 1/4 teaspoon dried parsley
- 1/4 teaspoon dried rosemary, crushed
- 1/4 teaspoon black pepper
- 1/4 teaspoon kosher salt, plus more to taste
- 1 cup finely grated Gruyère cheese
- 1/2 cup finely grated Parmesan cheese
Directions
- Preheat oven to 300°F. Line large rimmed baking sheet with parchment paper and set
aside. Place popcorn in a large bowl, removing any unpopped kernels. - Melt butter in small saucepan or microwave safe bowl. Remove from heat and stir in
onion powder, garlic powder, dried thyme, dried parsley, dried rosemary, black pepper
and salt until combined. - Drizzle popcorn with seasoned butter and toss well until evenly coated. Add Gruyère and
Parmesan, tossing again to distribute cheese evenly. - Spread popcorn in an even layer on prepared baking sheet. Bake, stirring halfway
through, until cheese is melted and popcorn is lightly crisp, about 8 to 10 minutes. - Let cool for 5 minutes before serving. Taste and season with additional salt, if desired
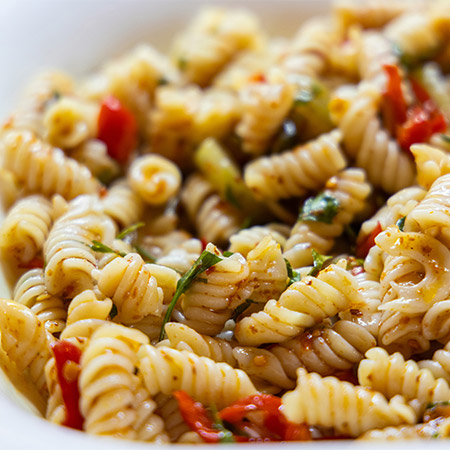
(Feature Impact) When students open up their lunchboxes in the cafeteria, it’s fun to be greeted with something bright, colorful and fresh. Pasta salad is a summer picnic staple, but once the weather starts to cool and kids head back to school, there’s nothing to say you can’t send a taste of summer with them.
The beauty of pasta salad is it’s totally customizable, ideal for eating cold and easy to make ahead of time. That means you can spend the evening before school dishing up jars then pop them in the fridge for a quick morning grab-and-go lunchbox filler. Adults in the household can take one to work while kids have their own at school – and if anyone wants a different dressing or no olives, it’s an easy accommodation.
If you’re making this Pasta Salad in a Jar recipe as the main course instead of a lunchtime side, up the protein by adding beans, chicken or cubed cheese to keep kids energized for the second half of the day. Choose whole-grain or high-protein pasta for an extra nutritional boost, and pack in vitamins and fiber with plenty of crunchy fresh produce, from cucumbers and carrots to tomatoes and olives.
Find more school-day recipes at Culinary.net.
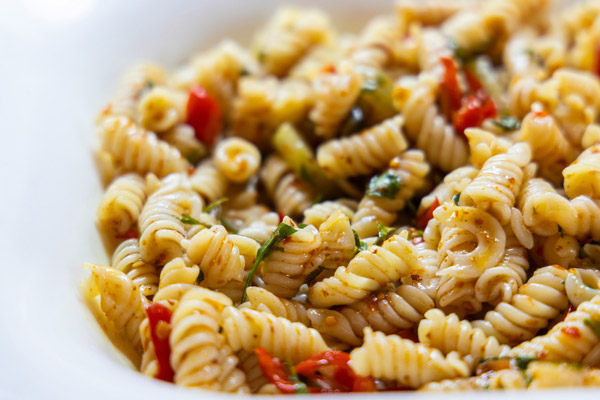
Pasta Salad in a Jar
Recipe adapted from Best of This Life
Prep time: 10 minutes
Servings: 1
Dressing:
- 2 tablespoons olive oil
- 2 tablespoons red wine vinegar
- 1/8 teaspoon dried basil
- 1/8 teaspoon oregano
- 1/8 teaspoon parsley
- salt, to taste
- freshly ground pepper, to taste
- 1/4 cup canned chickpeas, rinsed
- 1/2 cup halved grape tomatoes
- 1/2 cup diced cucumber
- 2 tablespoons sliced Kalamata olives
- 1 cup cooked pasta of choice, cooled
- 1 cup chopped spinach
- To make dressing: In canning jar, combine olive oil, vinegar, basil, oregano, parsley and salt and pepper, to taste. Stir in chickpeas.
- Layer tomatoes, cucumbers, olives, cooked pasta and spinach over dressing.
- Refrigerate until ready to serve. To serve, flip jar over and lightly shake to combine dressing with other ingredients.
Photo courtesy of Unsplash
SOURCE:






-

 NEWS3 years ago
Suspect indicted, jailed in Tia Hutson murder
-

 NEWS4 years ago
Wreck takes the life of BHS teen, 16
-
 NEWS4 years ago
2 hurt, 1 jailed after shooting incident north of Nocona
-

 NEWS3 years ago
Murder unsolved – 1 year later Tia Hutson’s family angry, frustrated with no arrest
-
 NEWS3 years ago
SO investigating possible murder/suicide
-
 Show us something good9 years ago
Country music star children perform in Bowie
-
 100th Birthday4 years ago
Looking back at the 1958 Centennial edition of The Bowie News
-
NEWS3 years ago
Sheriff’s office called out to infant’s death