
EDIBLES
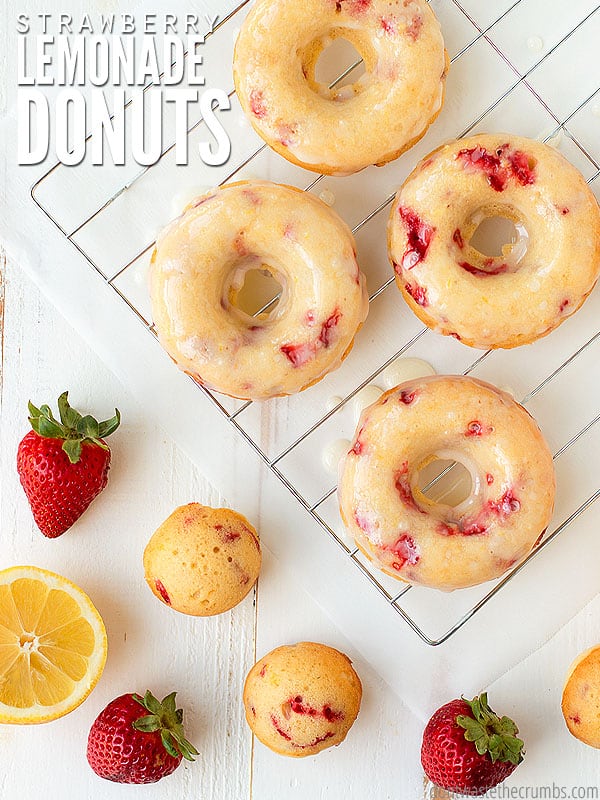
Strawberry Lemonade Donuts

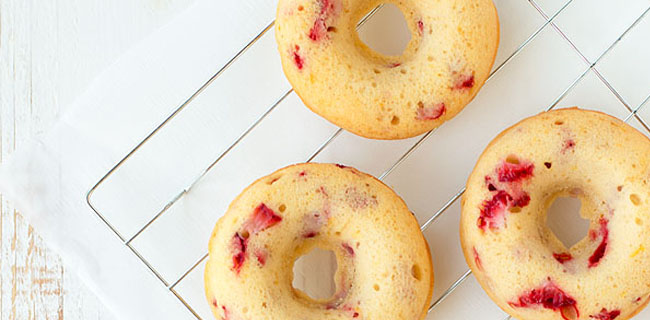
If you haven’t already guessed it, I’m on a strawberry lemonade kick this summer.
First it was no-cook strawberry jam, then it was strawberry lemonade kombucha, and now it’s strawberry lemonade donuts.
Hey, can you blame me? Who wouldn’t want the epitome of summer baked into a donut?!
If you don’t have a donut pan though, your summer fun doesn’t cease to exist. There’s a solution: any baked donut recipe (including this one and my pumpkin donut recipe) can be baked in a muffin tin!
For full-size muffin tins like these, fill each muffin cup 1/4 to 1/3 full and you’ll have cute little donut muffins.
Mini-muffin tins like these will give a muffin that looks more like a donut hole. I bet if you tell your kids that’s what it is, they won’t even second guess you. After all, they still taste like donuts!
With all that said though, I really enjoy making my kids donuts on the weekends.
Growing up, donuts on Saturday mornings were a big treat and it’s one of the family traditions I want to pass on to my kids.
One time though when we went to a donut shop, I saw big 5 gallon buckets of hydrogenated vegetable oil in the front of the store. The buckets were empty and the shop was selling them for $2 each.
My first thought was that those buckets would be great for storing whole grains.
My second thought was that those buckets were empty for a reason… that unhealthy fat was put into the donuts I was about to buy.
And hydrogenated oils are one of the ingredients we are adamant about not feeding our kids.
Note: Deciding your food priorities makes a big difference in how you spend your grocery budget. I teach about this in Grocery Budget Bootcamp. It will look different for every family but the principles remain the same!
We’ve cut back drastically on how often we eat donuts since that day, and now we don’t buy them at all. There’s no reason too when you have a delicious homemade donut recipe like this one!
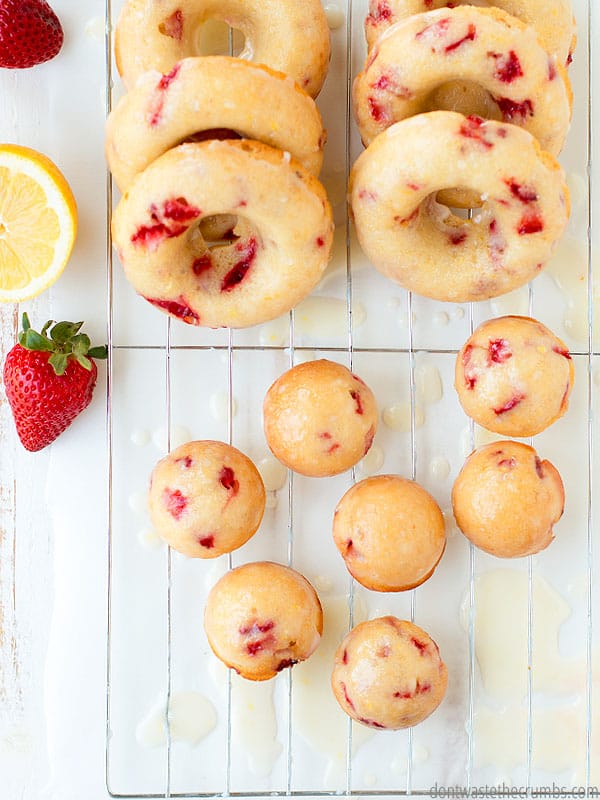
Strawberry Lemonade Donuts
Speaking of this recipe, let’s talk about it.
1. We’re using whole fresh strawberries.
No jam, no jellies and no concentrates here. Just fresh strawberries, diced finely so that they bake evenly into the donut and you get juicy bits of strawberry in every bite.
2. We’re using lots of lemon.
If you’re making strawberry lemonade donuts, you MUST be able to taste the lemon. That’s why we’re using lemon juice AND lemon zest in the batter itself.
And if that wasn’t enough, we’re making a simple lemon glaze that will knock this donut out of the park.
3. This recipe is naturally sweetened!
The downside of store-bought donuts? Sugar. Lots and lots of sugar. Not a good thing when you’re trying to quit sugar.
The upside to homemade donuts? Using less sugar AND increasing the quality. We’re using honey and/or maple syrup here – your choice!
4. These can be made egg-free and gluten free!
I’ve tested this recipe with and without eggs, and while the egg version held up better, the egg-free batch would pass for those with egg allergies.
I also tested using all-purpose flour and einkorn flour with success. I bet you could use any all-purpose gluten-free flour successfully.
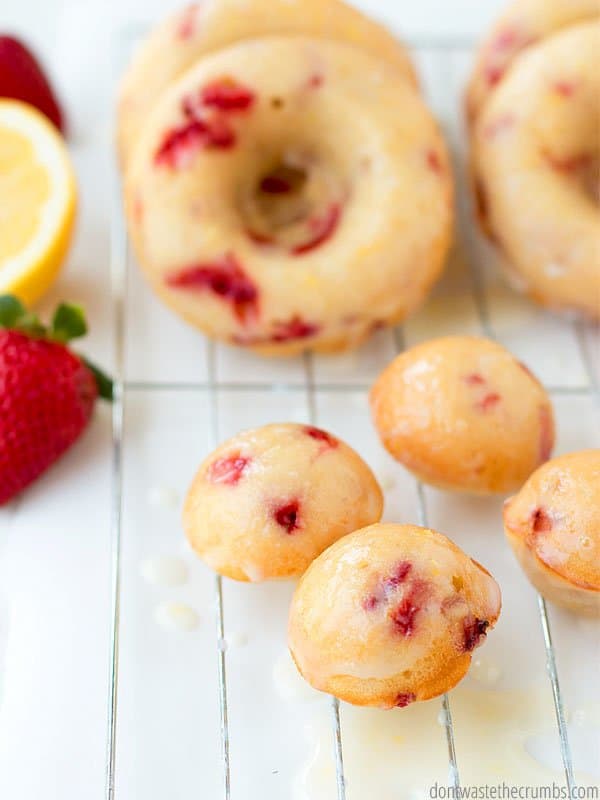
Probably the most important aspect of this recipe, is that it whips up REALLY fast.
The most time consuming aspect is the baking time, but even 12 minutes isn’t that long when you consider the alternative of loading up the car, driving to the donut shop, waiting in line, driving home…
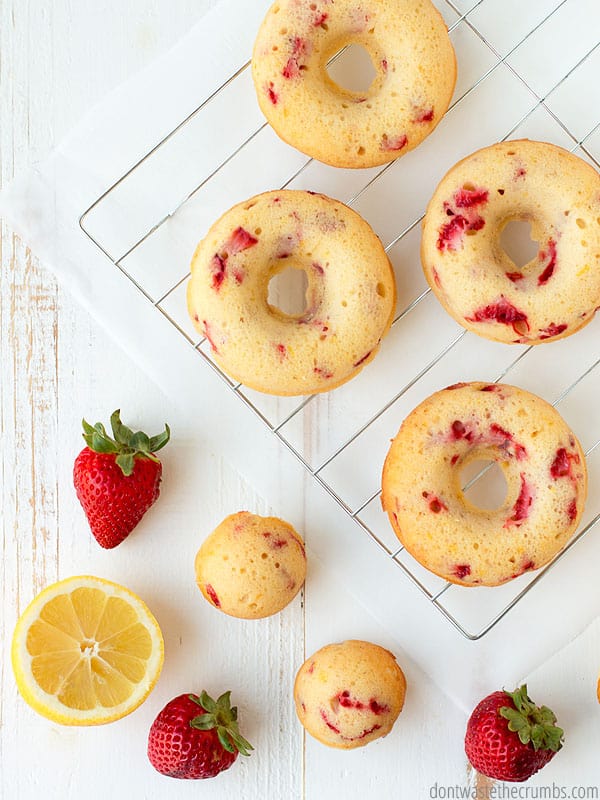
Donut Making Tools
There are a few tools I use in this recipe that I want to highlight, because they make the donut-making process super easy.
- Donut Pan – I have this exact pan, but I bought mine from Michaels with a 50% off coupon. If you don’t have a Michaels or a similar craft store nearby, the price on Amazon is still a good deal.
- Donut Hole Pan – I also bought this exact donut hole pan from Michaels with a coupon. Anytime I make donuts, I double the recipe and make both donuts and donut holes. I admit that the donut holes are addicting, but I can usually set enough aside to get breakfast for an extra day or two.
- Cookie Scoop – I have this #50 cookie scoop and it holds 1 1/4 Tablespoons of dough. Three scoops makes one donut, and one slightly rounded scoop makes one donut hole. It helps to keep my donuts and donut holes uniform in size (and I also LOVE it for making meatballs and energy bites!).
Welcome back Saturday morning donuts!
- ¼ cup milk
- 2 tsp lemon juice (about 1 large lemon, with extra)
- ¼ tsp vanilla (how to make homemade vanilla)
- ⅓ cup honey OR maple syrup (if you use honey, you will taste it in the final donut)
- 3½ Tbsp butter, melted
- 2 eggs
- 1 cup flour (I used all-purpose)
- 1 tsp lemon zest (about 1 large lemon, with extra)
- ¼ tsp salt
- 1 tsp baking powder
- ½ cup finely diced strawberries
- 1 batch lemon glaze (recipe below)
- Preheat the oven to 350F and grease your donut pan(s).
- In a small bowl, combine milk, lemon juice, vanilla, honey OR maple syrup, melted butter and eggs. Whisk well and set aside.
- In a medium bowl, combine flour, lemon zest, salt and baking powder.
- Add wet ingredients to dry, stirring JUST until the ingredients are mixed. Do not overmix!
- Fold in the strawberries gently.
- Portion dough into the donut pan(s), about 3½ tablespoons per donut, or 1 slightly heaping tablespoon per donut hole.
- Bake for 12-14 minutes for donuts, or 9-11 minutes for donut holes, or until the donuts have risen and are golden in color.
- Allow to cool for 5 minutes before removing from the pan, and then allow to cool completely before glazing.
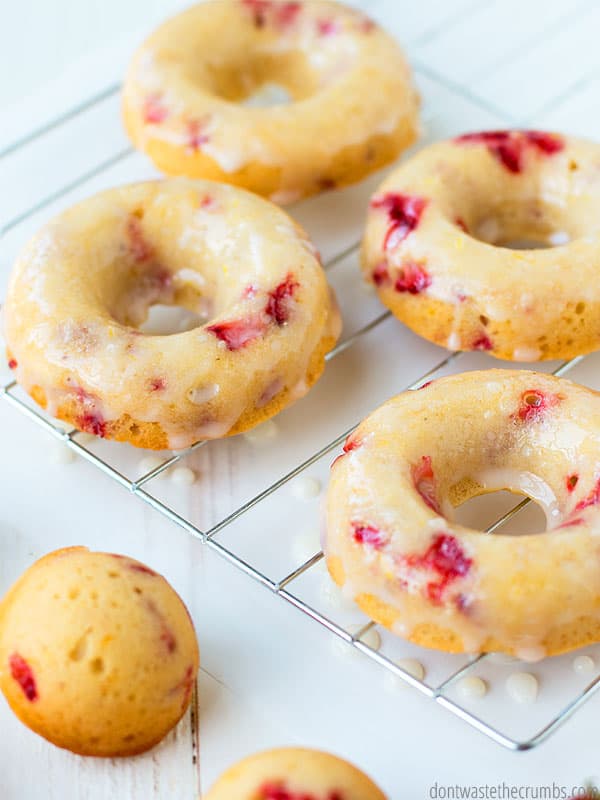
And don’t forget the lemon glaze!
- 1 cup powdered sugar
- 2 Tbsp lemon juice (about 1 large lemon)
- 1 tsp lemon zest (about 1 large lemon)
- 1-3 tsp milk, to thin if necessary
- In a small bowl, whisk powdered sugar, lemon juice and lemon zest very well.
- Only if necessary, thin by adding milk 1 tsp at a time. Adding milk dilutes the lemon flavor, so use it sparingly and only if necessary.
- Dunk completely cooled donuts in glaze and enjoy!
Pop Up a Celebratory Snack
Popcorn lovers rejoice: October is National Popcorn Poppin’ Month, a seasonal celebration of one
of America’s oldest and most beloved snack foods.
As farmers head into the fields to harvest crops, families and friends gather to enjoy this ever-
popular treat. Whether it’s prepared on the stovetop, in the microwave or ready to eat from the
bag, Americans consume 14 billion quarts of this whole grain each year.
Celebrated for its seed-to-snack simplicity, popcorn is also non-GMO, vegan, gluten-free, sugar-
free and naturally low in fat and calories, which makes it an easy fit for dietary preferences – and
it’s budget-friendly.
Add in popcorn’s irresistible smell, taste and versatility, and it’s easy to understand its
popularity. With so many different ways to eat it –plain, buttered or blended with the irresistible
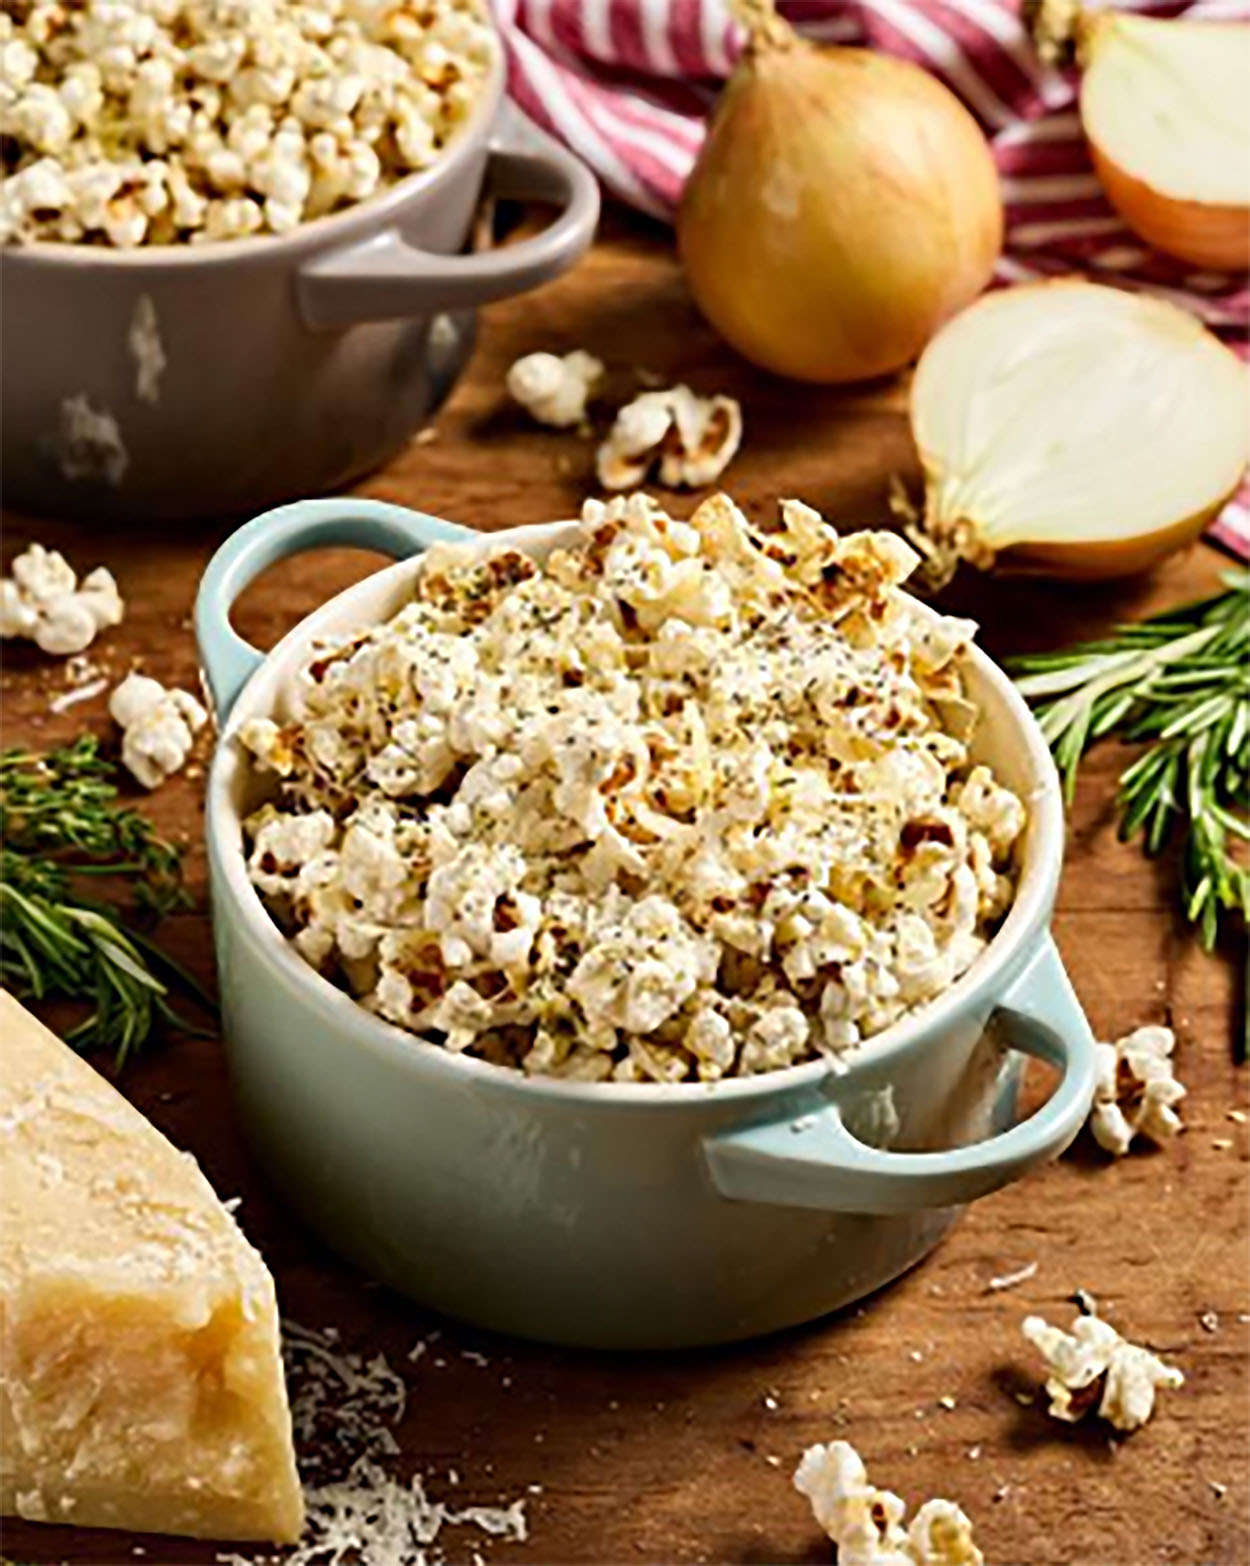
flavors of this French Onion Popcorn recipe – popcorn fits many moods and occasions.
Pop up a bowl and join the Popcorn Poppin’ Month celebration with more recipes at popcorn.org.
French Onion Popcorn
Ingredients
- 10 cups popped yellow popcorn
- 3 tablespoons unsalted butter
- 1 teaspoon onion powder
- 1/2 teaspoon garlic powder
- 1/2 teaspoon dried thyme
- 1/4 teaspoon dried parsley
- 1/4 teaspoon dried rosemary, crushed
- 1/4 teaspoon black pepper
- 1/4 teaspoon kosher salt, plus more to taste
- 1 cup finely grated Gruyère cheese
- 1/2 cup finely grated Parmesan cheese
Directions
- Preheat oven to 300°F. Line large rimmed baking sheet with parchment paper and set
aside. Place popcorn in a large bowl, removing any unpopped kernels. - Melt butter in small saucepan or microwave safe bowl. Remove from heat and stir in
onion powder, garlic powder, dried thyme, dried parsley, dried rosemary, black pepper
and salt until combined. - Drizzle popcorn with seasoned butter and toss well until evenly coated. Add Gruyère and
Parmesan, tossing again to distribute cheese evenly. - Spread popcorn in an even layer on prepared baking sheet. Bake, stirring halfway
through, until cheese is melted and popcorn is lightly crisp, about 8 to 10 minutes. - Let cool for 5 minutes before serving. Taste and season with additional salt, if desired
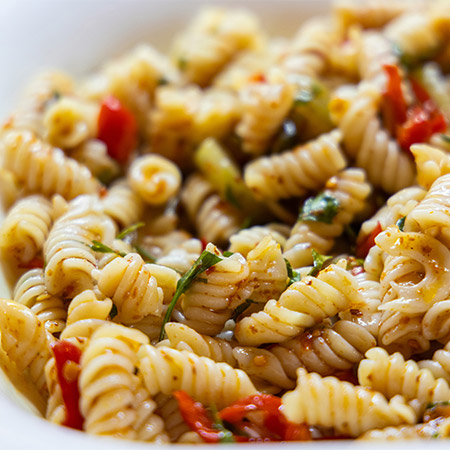
(Feature Impact) When students open up their lunchboxes in the cafeteria, it’s fun to be greeted with something bright, colorful and fresh. Pasta salad is a summer picnic staple, but once the weather starts to cool and kids head back to school, there’s nothing to say you can’t send a taste of summer with them.
The beauty of pasta salad is it’s totally customizable, ideal for eating cold and easy to make ahead of time. That means you can spend the evening before school dishing up jars then pop them in the fridge for a quick morning grab-and-go lunchbox filler. Adults in the household can take one to work while kids have their own at school – and if anyone wants a different dressing or no olives, it’s an easy accommodation.
If you’re making this Pasta Salad in a Jar recipe as the main course instead of a lunchtime side, up the protein by adding beans, chicken or cubed cheese to keep kids energized for the second half of the day. Choose whole-grain or high-protein pasta for an extra nutritional boost, and pack in vitamins and fiber with plenty of crunchy fresh produce, from cucumbers and carrots to tomatoes and olives.
Find more school-day recipes at Culinary.net.
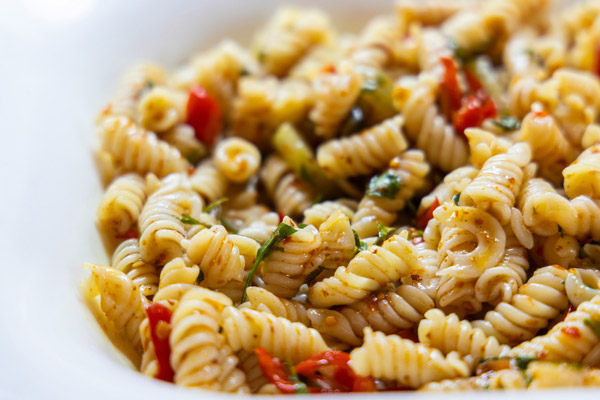
Pasta Salad in a Jar
Recipe adapted from Best of This Life
Prep time: 10 minutes
Servings: 1
Dressing:
- 2 tablespoons olive oil
- 2 tablespoons red wine vinegar
- 1/8 teaspoon dried basil
- 1/8 teaspoon oregano
- 1/8 teaspoon parsley
- salt, to taste
- freshly ground pepper, to taste
- 1/4 cup canned chickpeas, rinsed
- 1/2 cup halved grape tomatoes
- 1/2 cup diced cucumber
- 2 tablespoons sliced Kalamata olives
- 1 cup cooked pasta of choice, cooled
- 1 cup chopped spinach
- To make dressing: In canning jar, combine olive oil, vinegar, basil, oregano, parsley and salt and pepper, to taste. Stir in chickpeas.
- Layer tomatoes, cucumbers, olives, cooked pasta and spinach over dressing.
- Refrigerate until ready to serve. To serve, flip jar over and lightly shake to combine dressing with other ingredients.
Photo courtesy of Unsplash
SOURCE:
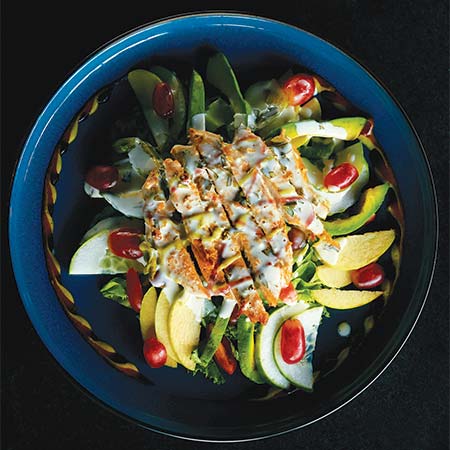
(Feature Impact) On those days when you’re craving something fresh and don’t feel like doing a lot of cooking, salads are the ideal solution. They’re nutritious, easy to throw together and endlessly customizable so you can make them with the ingredients you have to suit the flavor profiles you prefer.
This Grilled Chicken and Avocado Salad unites savory, sweet, tangy and creamy flavors in a single bowl. Crisp lettuce and tender spinach bring leafy green nutrients to the base of each salad. The juicy, slightly charred grilled chicken is seasoned, smoky and a good source of lean protein. Avocado slices, Greek yogurt and olive oil add rich, creamy textures and healthy fats, while cucumbers make each bite refreshing. Apple slices and grapes lend natural sweetness that complement the tangy honey-mustard dressing.
Light enough for lunch but filling enough for dinner, it’s a versatile salad packed with vegetables, fruits, fiber, vitamins and minerals. Make the recipe your own by switching to a different dressing or tossing in bonus toppings like walnuts, dried cranberries or cherry tomatoes. Plant-based home chefs can adapt by swapping to a different protein like tofu, tempeh or chickpeas and using non-dairy yogurt for the dressing.
Find more light yet filling salad solutions by visiting Culinary.net.
Grilled Chicken and Avocado Salad
Recipe adapted from Delish
Prep time: 10 minutes
Cook time: 20 minutes
Servings: 4
- 2 boneless, skinless chicken breasts (8 ounces each)
- 1 teaspoon dried oregano
- 1 teaspoon ground coriander
- kosher salt, to taste
- freshly ground black pepper, to taste
- 2 tablespoons extra-virgin olive oil
- 3 romaine hearts, chopped
- 3 cups spinach
- 2 avocados, thinly sliced
- 2 cucumbers, thinly sliced
- 1 apple, thinly sliced
- 1 cup grapes, halved
Creamy Honey-Dijon Dressing:
- 3/4 cup plain Greek yogurt
- 3 tablespoons extra-virgin olive oil
- 1 1/2 tablespoons honey
- 1 tablespoon Dijon mustard
- 1 tablespoon fresh lemon juice
- 1 teaspoon apple cider vinegar
- 1/4 teaspoon garlic powder
- 1/4 teaspoon salt
- 1/8 teaspoon black pepper
- Preheat grill or grill pan to medium-high heat. In medium bowl, sprinkle chicken with oregano, coriander and salt and pepper, to taste. Add oil then toss to coat.
- Grill chicken, covered, about 8 minutes per side, until slightly charred and registering 165 F on thermometer inserted into thickest part. Transfer to cutting board, let rest 5 minutes then thinly slice.
- Divide romaine, spinach, avocados, cucumbers, apples and grapes among bowls. Top with chicken.
- To make dressing: Whisk Greek yogurt, olive oil, honey, Dijon mustard, lemon juice, apple cider vinegar, garlic, salt and pepper. Drizzle over salad and serve.
SOURCE:





-

 NEWS3 years ago
Suspect indicted, jailed in Tia Hutson murder
-

 NEWS4 years ago
Wreck takes the life of BHS teen, 16
-
 NEWS4 years ago
2 hurt, 1 jailed after shooting incident north of Nocona
-
 NEWS3 years ago
SO investigating possible murder/suicide
-
 NEWS3 years ago
Murder unsolved – 1 year later Tia Hutson’s family angry, frustrated with no arrest
-
 Show us something good9 years ago
Country music star children perform in Bowie
-
 100th Birthday4 years ago
Looking back at the 1958 Centennial edition of The Bowie News
-
NEWS3 years ago
Sheriff’s office called out to infant’s death