
EDIBLES
Celebrate summer with homemade peach ice cream

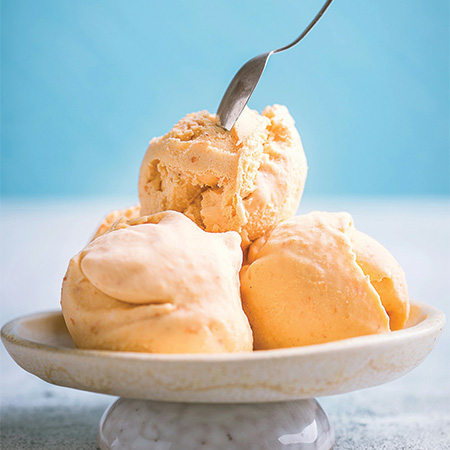
(Feature Impact) Nothing screams summer more than ice cream – although sweet, juicy peaches are a close runner-up in the competition. For the ultimate seasonal celebration, combine the two fan favorites with this homemade Peach Ice Cream recipe.
Using ripe, succulent peaches will make this ice cream burst with natural sweetness, while the vanilla and brown sugar add extra richness and a hint of caramelized flavor. A little brightness and zing from the fresh lemon juice finishes off your bowl of refreshing summer goodness.
The recipe requires an ice cream maker, and you’ll need to freeze the bowl for 24 hours before you churn, so be sure to plan ahead. Once finished churning, you can serve it immediately or pop it in the freezer to enjoy during the next heat wave.
Find more summer dessert recipes at Culinary.net.
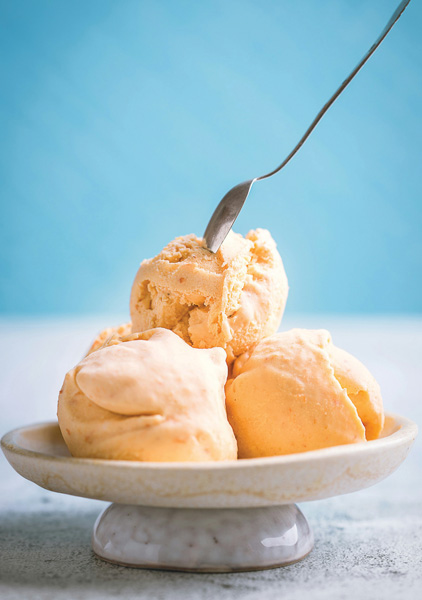
Peach Ice Cream
Recipe adapted from Stephie Cooks
Prep time: 25 minutes
Churning and freezing time: 5 hours, 30 minutes
Servings: 12 (makes 1 1/2 quarts)
- 4 cups fresh peaches, peeled and sliced (5-6 peaches)
- 1/2 cup granulated sugar
- 1 cup brown sugar
- 3 tablespoons fresh lemon juice
- 2 1/4 teaspoons vanilla extract
- 2 cups heavy cream
- Prior to churning: Freeze bowl of ice cream maker 24 hours.
- In large bowl, combine peaches, sugars, lemon juice and vanilla. Let sit 15 minutes, stirring occasionally, until sugars have dissolved and peaches are juicy.
- Place peach mixture in blender or food processor; pulse until peaches are broken down but not totally pureed. Add heavy cream; stir to combine.
- Pour mixture into airtight container and refrigerate 1-2 hours, or overnight.
- Use ice cream maker to churn mixture according to manufacturer’s instructions. Once churned, serve immediately for softer consistency or place in airtight, freezer-safe container and freeze 2-4 hours to harden before serving.
Photo courtesy of Unsplash
SOURCE:
Pop Up a Celebratory Snack
Popcorn lovers rejoice: October is National Popcorn Poppin’ Month, a seasonal celebration of one
of America’s oldest and most beloved snack foods.
As farmers head into the fields to harvest crops, families and friends gather to enjoy this ever-
popular treat. Whether it’s prepared on the stovetop, in the microwave or ready to eat from the
bag, Americans consume 14 billion quarts of this whole grain each year.
Celebrated for its seed-to-snack simplicity, popcorn is also non-GMO, vegan, gluten-free, sugar-
free and naturally low in fat and calories, which makes it an easy fit for dietary preferences – and
it’s budget-friendly.
Add in popcorn’s irresistible smell, taste and versatility, and it’s easy to understand its
popularity. With so many different ways to eat it –plain, buttered or blended with the irresistible
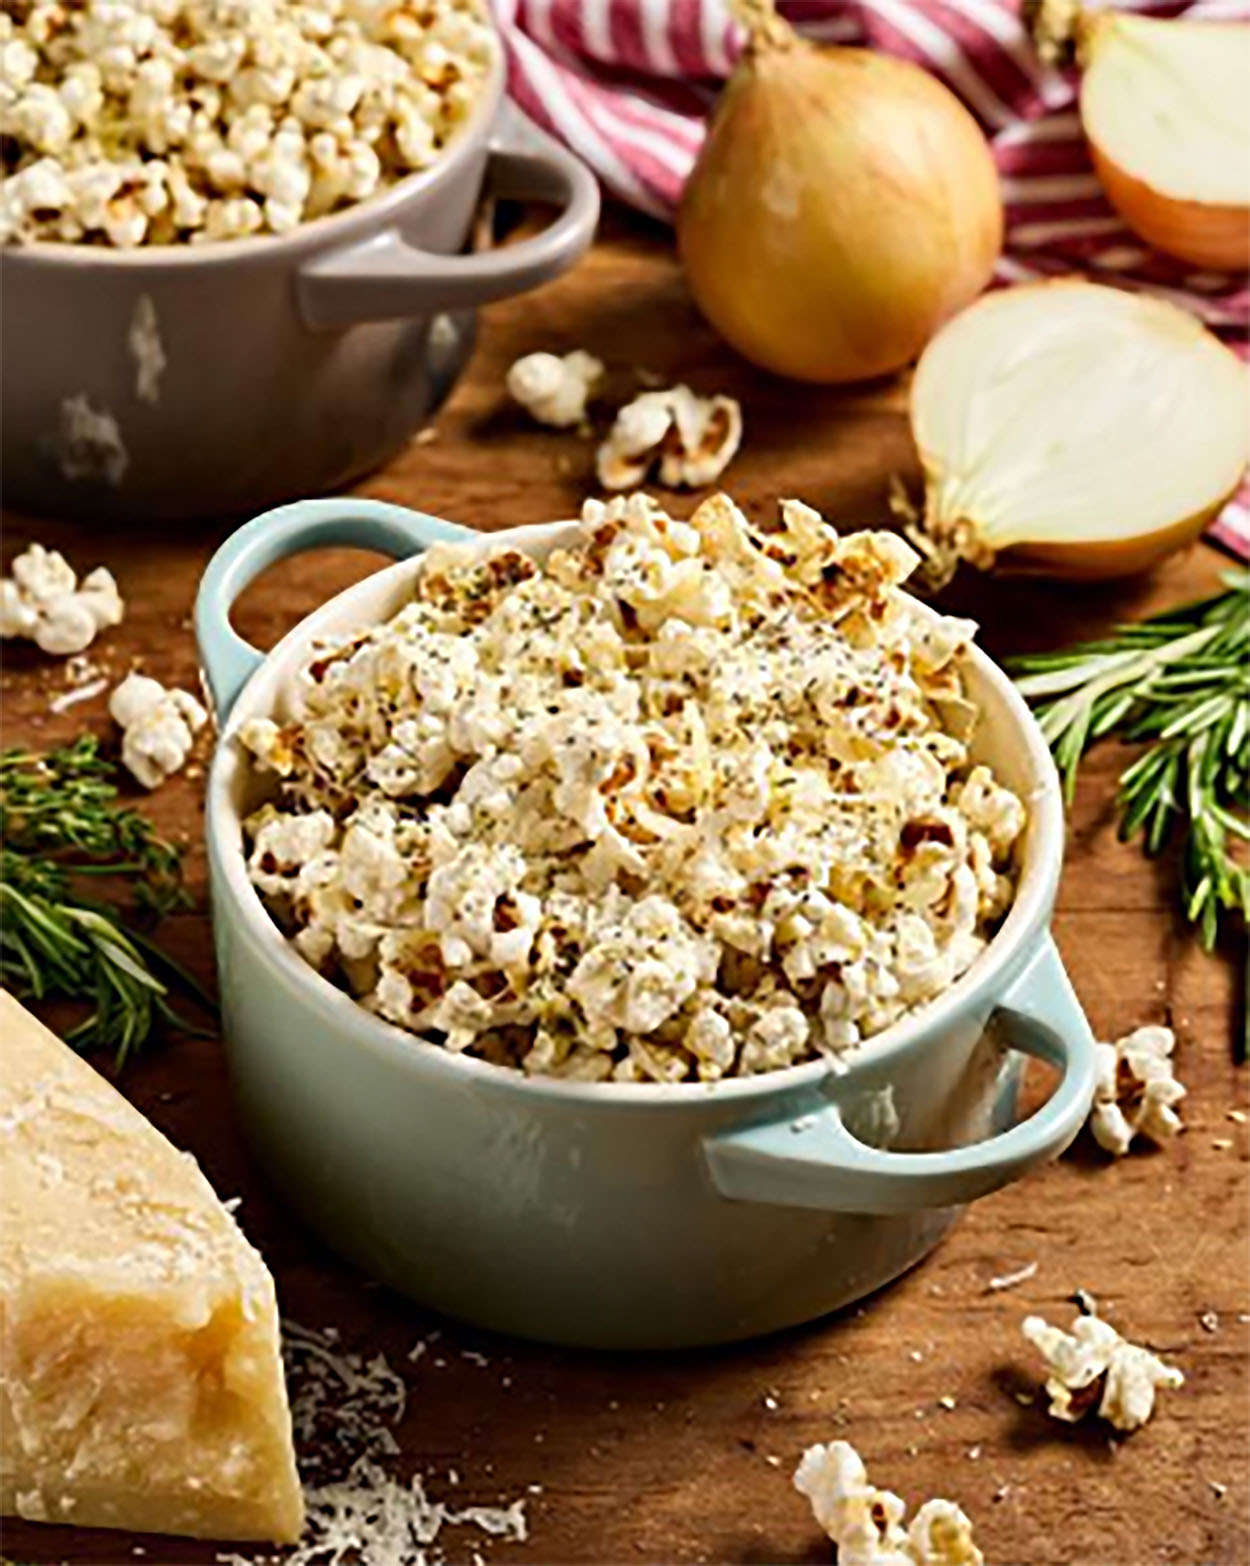
flavors of this French Onion Popcorn recipe – popcorn fits many moods and occasions.
Pop up a bowl and join the Popcorn Poppin’ Month celebration with more recipes at popcorn.org.
French Onion Popcorn
Ingredients
- 10 cups popped yellow popcorn
- 3 tablespoons unsalted butter
- 1 teaspoon onion powder
- 1/2 teaspoon garlic powder
- 1/2 teaspoon dried thyme
- 1/4 teaspoon dried parsley
- 1/4 teaspoon dried rosemary, crushed
- 1/4 teaspoon black pepper
- 1/4 teaspoon kosher salt, plus more to taste
- 1 cup finely grated Gruyère cheese
- 1/2 cup finely grated Parmesan cheese
Directions
- Preheat oven to 300°F. Line large rimmed baking sheet with parchment paper and set
aside. Place popcorn in a large bowl, removing any unpopped kernels. - Melt butter in small saucepan or microwave safe bowl. Remove from heat and stir in
onion powder, garlic powder, dried thyme, dried parsley, dried rosemary, black pepper
and salt until combined. - Drizzle popcorn with seasoned butter and toss well until evenly coated. Add Gruyère and
Parmesan, tossing again to distribute cheese evenly. - Spread popcorn in an even layer on prepared baking sheet. Bake, stirring halfway
through, until cheese is melted and popcorn is lightly crisp, about 8 to 10 minutes. - Let cool for 5 minutes before serving. Taste and season with additional salt, if desired
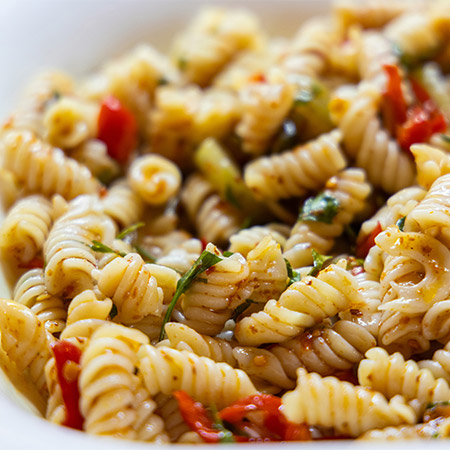
(Feature Impact) When students open up their lunchboxes in the cafeteria, it’s fun to be greeted with something bright, colorful and fresh. Pasta salad is a summer picnic staple, but once the weather starts to cool and kids head back to school, there’s nothing to say you can’t send a taste of summer with them.
The beauty of pasta salad is it’s totally customizable, ideal for eating cold and easy to make ahead of time. That means you can spend the evening before school dishing up jars then pop them in the fridge for a quick morning grab-and-go lunchbox filler. Adults in the household can take one to work while kids have their own at school – and if anyone wants a different dressing or no olives, it’s an easy accommodation.
If you’re making this Pasta Salad in a Jar recipe as the main course instead of a lunchtime side, up the protein by adding beans, chicken or cubed cheese to keep kids energized for the second half of the day. Choose whole-grain or high-protein pasta for an extra nutritional boost, and pack in vitamins and fiber with plenty of crunchy fresh produce, from cucumbers and carrots to tomatoes and olives.
Find more school-day recipes at Culinary.net.
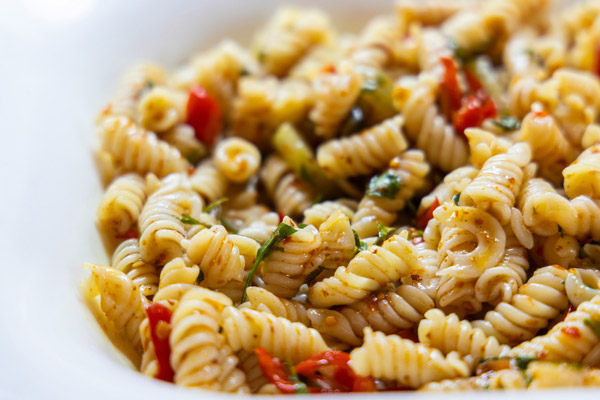
Pasta Salad in a Jar
Recipe adapted from Best of This Life
Prep time: 10 minutes
Servings: 1
Dressing:
- 2 tablespoons olive oil
- 2 tablespoons red wine vinegar
- 1/8 teaspoon dried basil
- 1/8 teaspoon oregano
- 1/8 teaspoon parsley
- salt, to taste
- freshly ground pepper, to taste
- 1/4 cup canned chickpeas, rinsed
- 1/2 cup halved grape tomatoes
- 1/2 cup diced cucumber
- 2 tablespoons sliced Kalamata olives
- 1 cup cooked pasta of choice, cooled
- 1 cup chopped spinach
- To make dressing: In canning jar, combine olive oil, vinegar, basil, oregano, parsley and salt and pepper, to taste. Stir in chickpeas.
- Layer tomatoes, cucumbers, olives, cooked pasta and spinach over dressing.
- Refrigerate until ready to serve. To serve, flip jar over and lightly shake to combine dressing with other ingredients.
Photo courtesy of Unsplash
SOURCE:
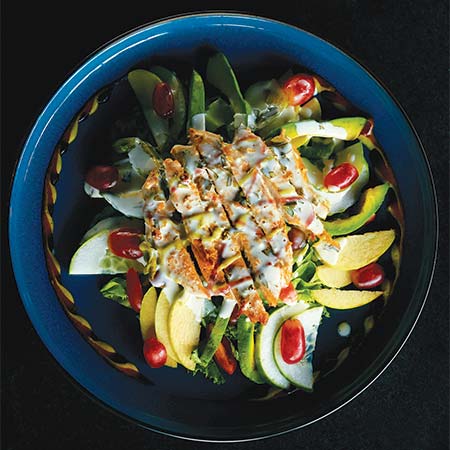
(Feature Impact) On those days when you’re craving something fresh and don’t feel like doing a lot of cooking, salads are the ideal solution. They’re nutritious, easy to throw together and endlessly customizable so you can make them with the ingredients you have to suit the flavor profiles you prefer.
This Grilled Chicken and Avocado Salad unites savory, sweet, tangy and creamy flavors in a single bowl. Crisp lettuce and tender spinach bring leafy green nutrients to the base of each salad. The juicy, slightly charred grilled chicken is seasoned, smoky and a good source of lean protein. Avocado slices, Greek yogurt and olive oil add rich, creamy textures and healthy fats, while cucumbers make each bite refreshing. Apple slices and grapes lend natural sweetness that complement the tangy honey-mustard dressing.
Light enough for lunch but filling enough for dinner, it’s a versatile salad packed with vegetables, fruits, fiber, vitamins and minerals. Make the recipe your own by switching to a different dressing or tossing in bonus toppings like walnuts, dried cranberries or cherry tomatoes. Plant-based home chefs can adapt by swapping to a different protein like tofu, tempeh or chickpeas and using non-dairy yogurt for the dressing.
Find more light yet filling salad solutions by visiting Culinary.net.
Grilled Chicken and Avocado Salad
Recipe adapted from Delish
Prep time: 10 minutes
Cook time: 20 minutes
Servings: 4
- 2 boneless, skinless chicken breasts (8 ounces each)
- 1 teaspoon dried oregano
- 1 teaspoon ground coriander
- kosher salt, to taste
- freshly ground black pepper, to taste
- 2 tablespoons extra-virgin olive oil
- 3 romaine hearts, chopped
- 3 cups spinach
- 2 avocados, thinly sliced
- 2 cucumbers, thinly sliced
- 1 apple, thinly sliced
- 1 cup grapes, halved
Creamy Honey-Dijon Dressing:
- 3/4 cup plain Greek yogurt
- 3 tablespoons extra-virgin olive oil
- 1 1/2 tablespoons honey
- 1 tablespoon Dijon mustard
- 1 tablespoon fresh lemon juice
- 1 teaspoon apple cider vinegar
- 1/4 teaspoon garlic powder
- 1/4 teaspoon salt
- 1/8 teaspoon black pepper
- Preheat grill or grill pan to medium-high heat. In medium bowl, sprinkle chicken with oregano, coriander and salt and pepper, to taste. Add oil then toss to coat.
- Grill chicken, covered, about 8 minutes per side, until slightly charred and registering 165 F on thermometer inserted into thickest part. Transfer to cutting board, let rest 5 minutes then thinly slice.
- Divide romaine, spinach, avocados, cucumbers, apples and grapes among bowls. Top with chicken.
- To make dressing: Whisk Greek yogurt, olive oil, honey, Dijon mustard, lemon juice, apple cider vinegar, garlic, salt and pepper. Drizzle over salad and serve.
SOURCE:






-

 NEWS3 years ago
Suspect indicted, jailed in Tia Hutson murder
-
 NEWS4 years ago
2 hurt, 1 jailed after shooting incident north of Nocona
-

 NEWS4 years ago
Wreck takes the life of BHS teen, 16
-
 NEWS3 years ago
SO investigating possible murder/suicide
-

 NEWS3 years ago
Murder unsolved – 1 year later Tia Hutson’s family angry, frustrated with no arrest
-
 Show us something good9 years ago
Country music star children perform in Bowie
-
 100th Birthday4 years ago
Looking back at the 1958 Centennial edition of The Bowie News
-
NEWS3 years ago
Sheriff’s office called out to infant’s death