
EDIBLES
Good-for-your sweet treats

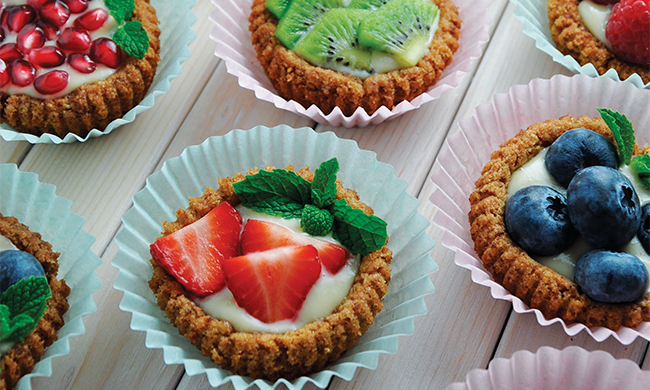
(Family Features) While eating healthy and enjoying sweets seldom go hand-in-hand, choosing the right combination of nutritious ingredients can allow for guilt-free indulgences that shirks conventional dieting wisdom. In fact, some eating plans take it a step further by actually encouraging eating big in the evening when you’re naturally hungriest to help achieve your weight loss goals.
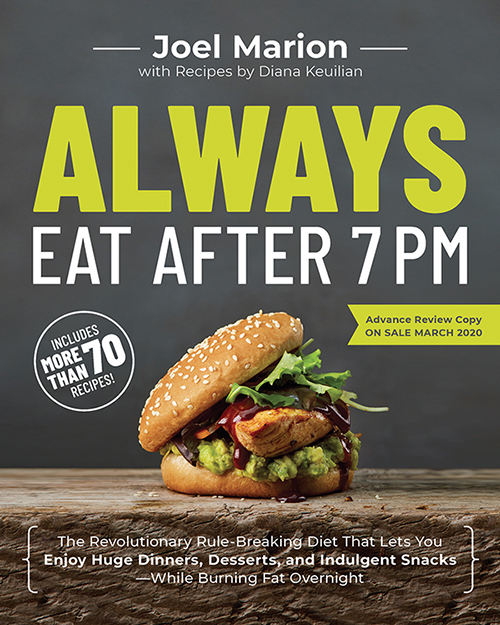
For example, “Always Eat After 7 PM,” written by Joel Marion, CISSN, NSCA-CPT, five-time best-selling e-book author and co-founder of the e-commerce supplement company BioTrust Nutrition, debunks popular diet myths and offers an easy-to-follow diet that accelerates fat-burning and allows you to indulge in your most intense cravings by eating the majority of your calories at night. The outlined plan features a 14-day “acceleration phase” designed for rapid results, a “main phase” when you’ll learn which fat-burning foods to eat to achieve your weight loss goals and a “lifestyle phase” to keep the weight off for good.
Conventional wisdom dictates that it’s best to avoid carbs, eat an early dinner and never eat immediately before bed. However, Marion debunks the myths underlying traditional dieting with a simple, highly effective weight loss program allowing readers to enjoy social dinners without restriction, satisfy nighttime hunger with fat-burning sweet and salty pre-bedtime snacks and indulge cravings with strategically timed cheat meals.
With straightforward food lists, easy-to-follow meal plans and recipes for each phase, this can be a simpler, more enjoyable way to lose weight without feeling restricted. Taken directly from the book, these recipes for No Bake Salted Caramel Bars, Cherry Garcia Ice Cream and Fruit Tarts can satisfy that sweet tooth before heading to bed.
Learn more about the diet and book at joelmarion.com.
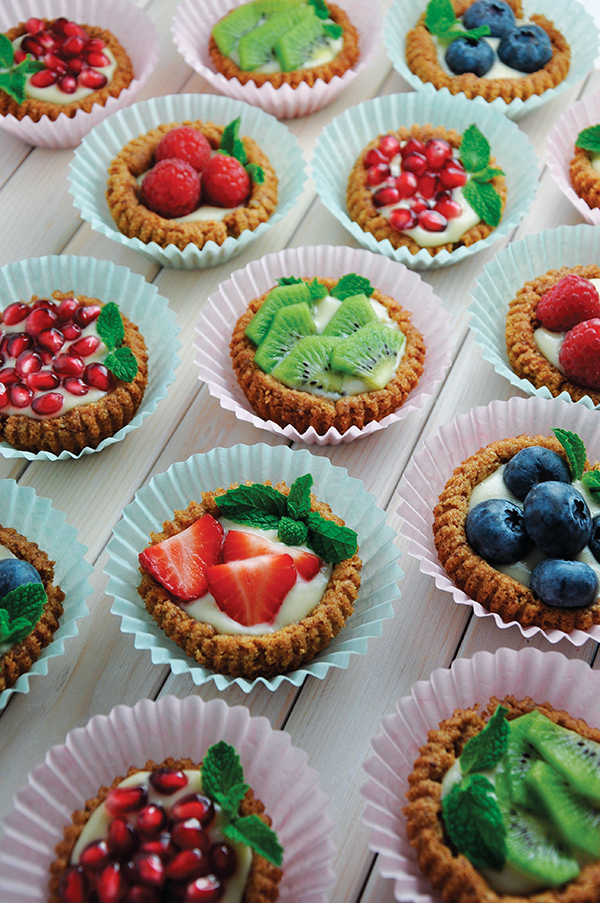
Fruit Tarts
Recipe courtesy of “Always Eat After 7 PM”
Prep time: 40 minutes
Cook time: 1 hour, 20 minutes
Servings: 20
Custard:
- 8 egg yolks
- 1 cup raw honey
- 1 tablespoon coconut flour
- 3 cans (13 2/3 ounces each) full-fat coconut milk
- 1 teaspoon vanilla extract
- 1/4 teaspoon lemon zest
Sugar Cookie Crust:
- 1/2 cup coconut oil, plus additional for greasing
- 1/2 cup palm shortening
- 1 cup coconut palm sugar
- 1 teaspoon baking soda
- 1 teaspoon cream of tartar
- 1/4 teaspoon salt
- 3 egg yolks
- 1⁄2 teaspoon vanilla extract
- 1 cup blanched almond flour
- 1⁄4 cup coconut flour
- 2 tablespoons arrowroot starch
Toppings:
- 2 kiwis, peeled and sliced
- 1 mango, peeled, pitted and sliced into 1/2-inch strips
- 1/2 cup raspberries
- 1/2 cup blackberries
- 1/2 cup blueberries
- 1/2 cup red grapes
- 1 cup strawberries, thinly sliced
- fresh mint leaves, for garnish
- To make custard: In saucepan, whisk egg yolks and honey until smooth. Mix in coconut flour.
- In medium saucepan over medium heat, combine coconut milk, vanilla extract and lemon zest; bring to boil then remove from heat.
- Pour hot milk mixture into egg yolk mixture, stirring while pouring. Over low heat, simmer 5 minutes, stirring constantly.
- Remove from heat and let cool, continuing to stir occasionally. Once cooled to room temperature, pour into individual custard cups. Chill in refrigerator 30 minutes, or until serving.
- To make crust: Heat oven to 350° F. Line bottom of pie pan with parchment paper and grease with coconut oil.
- In large mixing bowl using electric mixer on high, beat coconut oil and palm shortening 30 seconds. Add coconut palm sugar, baking soda, cream of tartar and salt; beat until combined, scraping sides of bowl occasionally. Beat in egg yolks and vanilla until combined. Beat in almond flour, coconut flour and starch. Chill dough in refrigerator 15 minutes.
- Press chilled cookie dough into bottom of pie pan and 2 inches up sides. Bake 12 minutes, or until crust is golden and browned on top and edges. Remove from oven and cool 10 minutes. Place cooled crust in refrigerator 30 minutes or overnight before assembling.
- To assemble fruit tarts: Spread custard over chilled crust. Decorate top in circular pattern with kiwis, mango strips, raspberries, blackberries, blueberries, grapes and strawberries.
- Before serving, chill at least 30 minutes or freeze 1 hour to help keep toppings in place.
- Remove from freezer and set out at room temperature 20 minutes before slicing. Garnish with mint leaves.
Nutritional information per serving: 192 calories; 14 g fat; 16 g carbohydrates; 61 mg sodium; 2 g fiber; 1 g protein; 9 g sugar.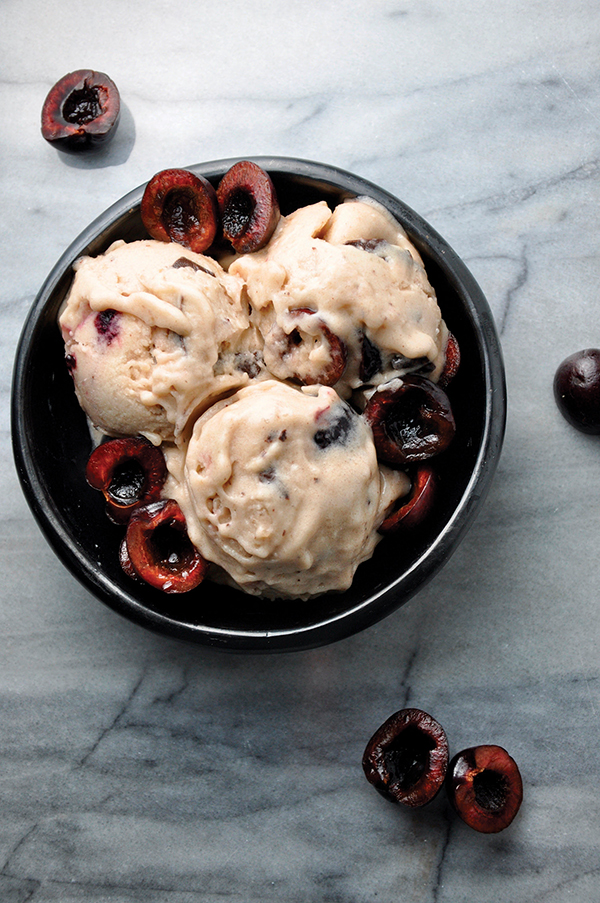
Cherry Garcia Ice Cream
Recipe courtesy of “Always Eat After 7 PM”
Prep time: 10 minutes
Servings: 4
- 1/4 cup fresh Bing cherries, pitted and halved
- 1/4 cup stevia-sweetened dark chocolate bar, chopped
- 3 overripe frozen bananas, peeled and cut into 1-inch pieces
- 1/4 cup unsweetened coconut milk
- 1 pinch sea salt
- Chill cherries and dark chocolate.
- In food processor, pulse frozen bananas, milk and salt until smooth, creamy consistency of soft serve is achieved. Stir in cherries and chocolate. Serve immediately or place in freezer-safe container and freeze until serving.
Nutritional information per serving: 165 calories; 7 g fat; 27 g carbohydrates; 134 mg sodium; 6 g fiber; 2 protein; 12 g sugar.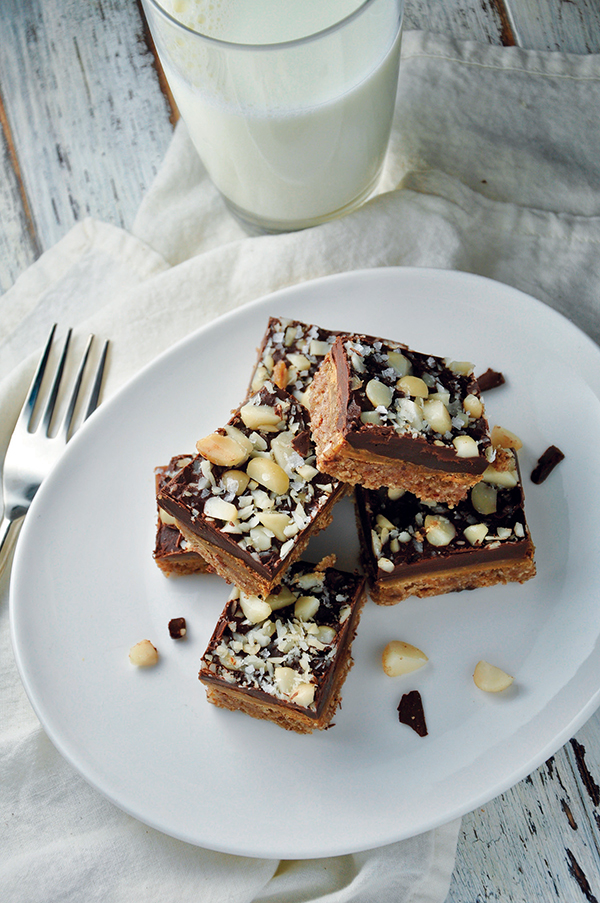
No Bake Salted Caramel Bars
Recipe courtesy of “Always Eat After 7 PM”
Prep time: 30 minutes
Cook time: 40 minutes
Servings: 30
Cookie Layer:
- 2 1/2 cups raw pecans
- 8 pitted dates, soaked in hot water 10 minutes then drained
- 2 tablespoons blanched almond flour
- 1 teaspoon coconut flour
- 1/4 teaspoon sea salt
- 1/4 cup granular zero-calorie, natural sweetener
- 3 tablespoons coconut oil, melted
Caramel Layer:
- 1/2 cup coconut palm sugar
- 1/2 cup granular zero-calorie, natural sweetener
- 2 tablespoons full-fat coconut milk
- 2 tablespoons coconut oil
- 1 pinch sea salt
- 1 tablespoon vanilla extract
- 1/2 teaspoon baking soda
Chocolate Layer:
- 2 cups stevia-sweetened chocolate chips
- 2 tablespoons coconut oil
- coconut oil
- 1/3 cup dry roasted macadamia nuts, chopped
- coarse sea salt
- To make cookie layer: Place large skillet over medium heat. Spread pecans over skillet and toast, stirring often, 8-10 minutes until golden. Remove from heat.
- Transfer toasted pecans to food processor and pulse until fine. Add dates, almond flour, coconut flour, sea salt, sweetener and coconut oil; pulse until dough forms.
- To make caramel layer: In skillet over medium heat, combine coconut palm sugar, sweetener, coconut milk, coconut oil, sea salt and vanilla extract; bring to boil. Once boiling, decrease heat to low and cook 5 minutes, stirring often.
- Remove skillet from heat; whisk in baking soda. Return pan to low heat and cook 2 minutes, stirring often.
- Remove caramel from heat and let cool and thicken 5 minutes.
- To make chocolate layer: In double boiler, melt chocolate chips and coconut oil. Stir until mixture is smooth then remove from heat.
- To assemble salted caramel bars: Line bottom and sides of 9-by-9-inch baking pan with parchment paper, leaving some hanging over sides. Lightly rub parchment paper with coconut oil.
- Press cookie dough into bottom of pan to create even layer. Place in freezer 5 minutes to harden.
- Pour caramel over cookie layer and spread to coat evenly. Place in freezer 5 minutes. Pour chocolate over caramel and spread to cover evenly. Sprinkle with macadamia nuts and coarse salt. Place in freezer 10 minutes until chocolate sets.
- Use overhanging parchment paper to ease set mixture out of pan. Transfer to cutting board and slice into bite-size bars.
Nutritional information per serving: 180 calories; 15 g fat; 15 g carbohydrates; 56 mg sodium; 4 g fiber; 2 g protein; 4 g sugar.
SOURCE:
Promote A Book
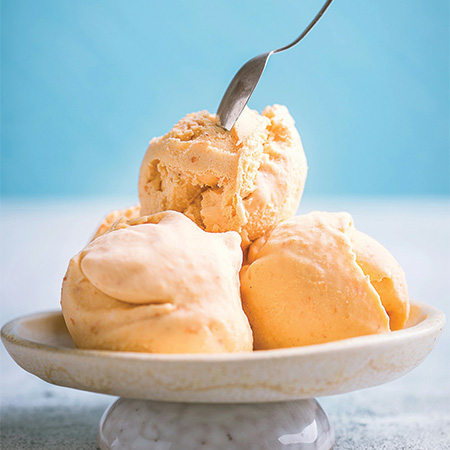
(Feature Impact) Nothing screams summer more than ice cream – although sweet, juicy peaches are a close runner-up in the competition. For the ultimate seasonal celebration, combine the two fan favorites with this homemade Peach Ice Cream recipe.
Using ripe, succulent peaches will make this ice cream burst with natural sweetness, while the vanilla and brown sugar add extra richness and a hint of caramelized flavor. A little brightness and zing from the fresh lemon juice finishes off your bowl of refreshing summer goodness.
The recipe requires an ice cream maker, and you’ll need to freeze the bowl for 24 hours before you churn, so be sure to plan ahead. Once finished churning, you can serve it immediately or pop it in the freezer to enjoy during the next heat wave.
Find more summer dessert recipes at Culinary.net.
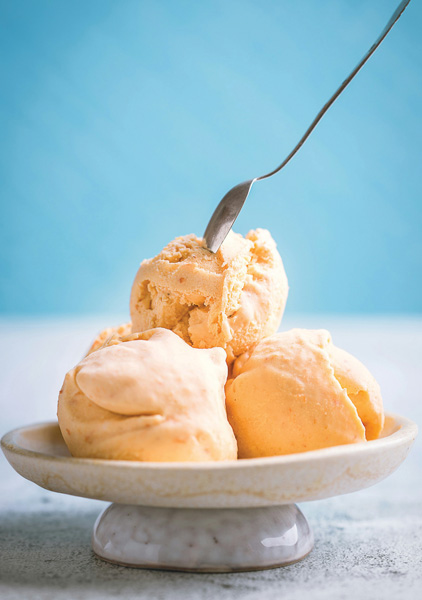
Peach Ice Cream
Recipe adapted from Stephie Cooks
Prep time: 25 minutes
Churning and freezing time: 5 hours, 30 minutes
Servings: 12 (makes 1 1/2 quarts)
- 4 cups fresh peaches, peeled and sliced (5-6 peaches)
- 1/2 cup granulated sugar
- 1 cup brown sugar
- 3 tablespoons fresh lemon juice
- 2 1/4 teaspoons vanilla extract
- 2 cups heavy cream
- Prior to churning: Freeze bowl of ice cream maker 24 hours.
- In large bowl, combine peaches, sugars, lemon juice and vanilla. Let sit 15 minutes, stirring occasionally, until sugars have dissolved and peaches are juicy.
- Place peach mixture in blender or food processor; pulse until peaches are broken down but not totally pureed. Add heavy cream; stir to combine.
- Pour mixture into airtight container and refrigerate 1-2 hours, or overnight.
- Use ice cream maker to churn mixture according to manufacturer’s instructions. Once churned, serve immediately for softer consistency or place in airtight, freezer-safe container and freeze 2-4 hours to harden before serving.
Photo courtesy of Unsplash
SOURCE:
(Feature Impact) When it comes to planning lunches and dinners on busy school days, simplicity is the name of the game. Parents who are already juggling carpools, practices, errands and homework don’t need anything extra added to their plates while they’re trying to get food onto everyone else’s.
Choosing uncomplicated meal ideas like these back-to-school recipes lets you reclaim some precious time from the morning and evening chaos. Designed to fit seamlessly into your existing routines, the recipes are familiar, flexible and filling – and, perhaps most importantly, won’t keep you standing at the stove for hours. Make it easy for your loved ones with Healthy Family Project’s registered dietitian-approved meal ideas packed with the nutrition to keep your family fueled all day.
Visit HealthyFamilyProject.com to find more easy, family-friendly recipes for back-to-school season.
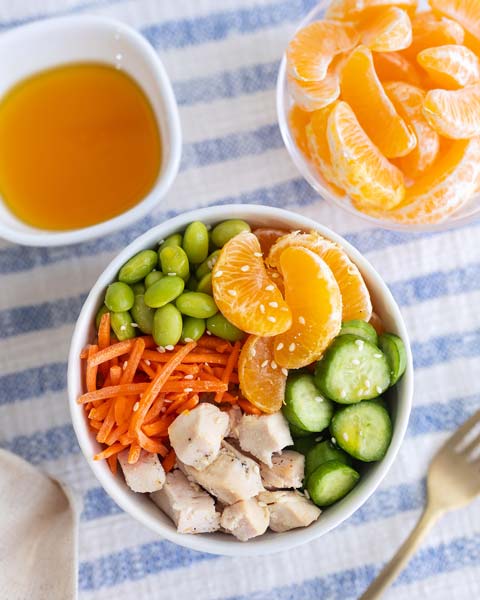
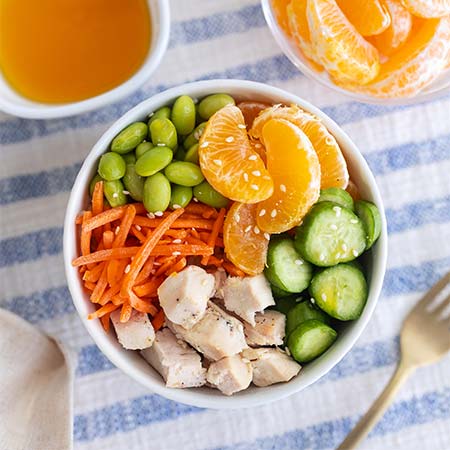
- Mandarin Chicken Rice Bowls – This fresh, fun dinner starts with a base of rice topped with juicy mandarin slices, savory chicken, fresh vegetables and a bright citrus dressing. Plus, it’s easily customizable to each family member’s tastes and preferences.
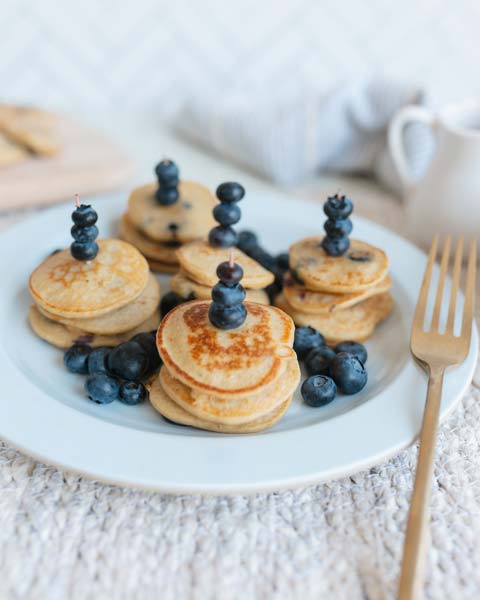
- Lemon Blueberry Pancake Lunchbox Bites – To make your kids’ eyes light up when they open their lunchboxes, opt for recipes that feel a little playful. These mini pancakes paired with colorful fruits definitely fit the bill, and they’re a great way to disguise nutritious ingredients like oats, eggs and bananas. Include a cup of yogurt on the side to make lunch dippable and interactive.
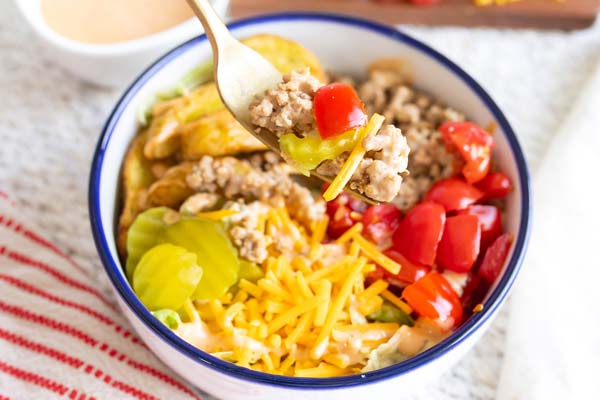
- Tomato Turkey Burger Bowls – Burger night gets a healthy twist in this creative recipe, which swaps a beef patty for lean ground turkey and oily French fries for roasted potato wedges while leaning into classic toppings like lettuce, tomatoes and pickles. If the kids still prefer their burgers as sandwiches instead of bowls, provide buns on the side so they can build their own.
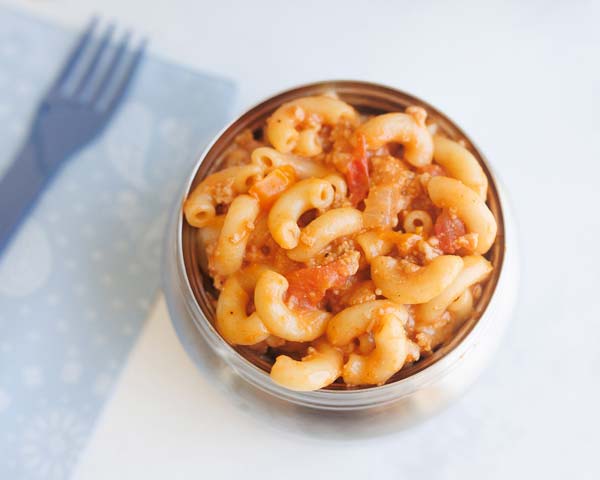
- One-Pot Cheeseburger Mac – If just imagining a sink full of dishes makes you tired, that means it’s the kind of night for a one-pot dinner. Pasta, cheese, tomatoes and onions combine with your choice of protein for a hearty and satisfying comfort meal that might remind you of your own childhood.
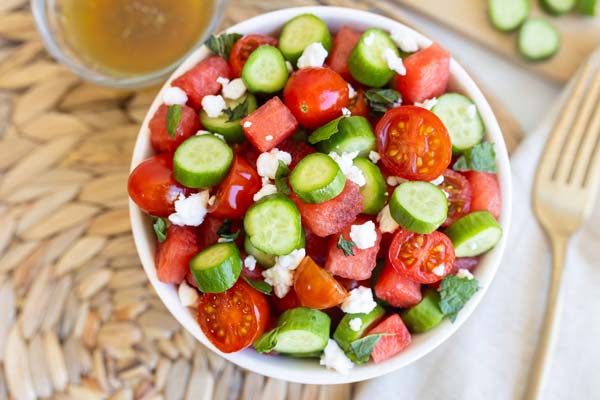
- Greek Salad with Cucumbers, Tomatoes and Watermelon – Whether you pack them as a healthy school lunchbox side or serve as a refreshing after-school snack, these salad cups keep weekday flavors fresh and interesting. The combination of cucumbers, watermelon, tomatoes, feta and mint means your loved ones are getting fruits, veggies, protein and herbs all in one. For on-the-go enjoyment, remember to pack the dressing on the side.
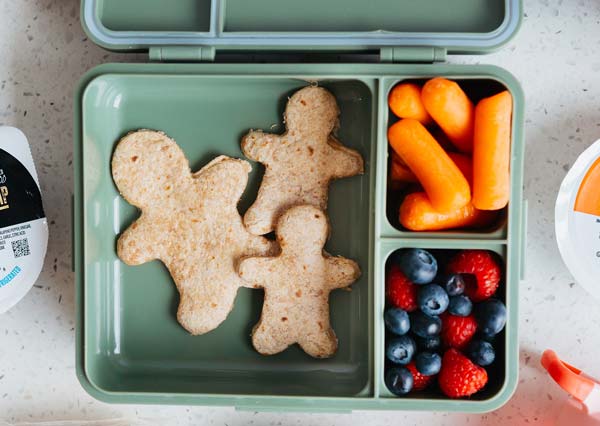
- Easy Quesadilla Dippers – Cookie cutters aren’t just for cookies anymore. Eating is generally less of a battle for kids when their food is in fun shapes, so let them choose their star, heart, gingerbread man or dinosaur to make these quesadillas more craveable. Fillings are flexible, too: layer cheese with chicken, beans or cooked veggies of your choice then serve with a side of salsa or guacamole for dipping.
SOURCE:
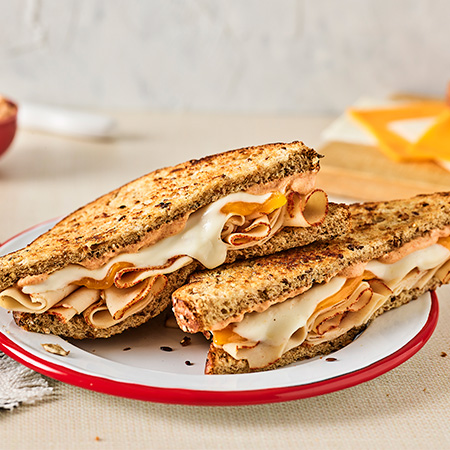
(Feature Impact) A grilled cheese sandwich isn’t just a lunchtime staple; it’s a beloved cultural icon. There is a universal magic in the combination of ooey-gooey cheese, golden bread and a little butter – but in 2026, this comfort food classic is getting a functional upgrade.
It’s also safe to say nostalgia is delicious and addicting, which is why Borden Cheese is sharing not one, but two, prize-worthy recipes, one of which packs a protein punch and another that’s a pure classic, perfect for spreading smiles and happy bellies.
Protein, Please: The Protein Powerhouse is the Grilled Cheese of the Year, and it’s easy to see why. It’s a protein-packed masterpiece designed for the modern appetite. Featuring a creamy, dual-cheese combo of mild cheddar and Borden Mozzarella Cheese Melts, the sandwich is melted over 5 ounces of tender sliced chicken breast and delivers more than 40 grams of protein and about 8 grams of fiber when paired with the right bread. Served with a tangy Greek yogurt and Dijon mustard “powerhouse sauce” and pressed between golden, crispy bread, this grilled cheese isn’t your ordinary melt. It has been transformed into a massive protein boost.
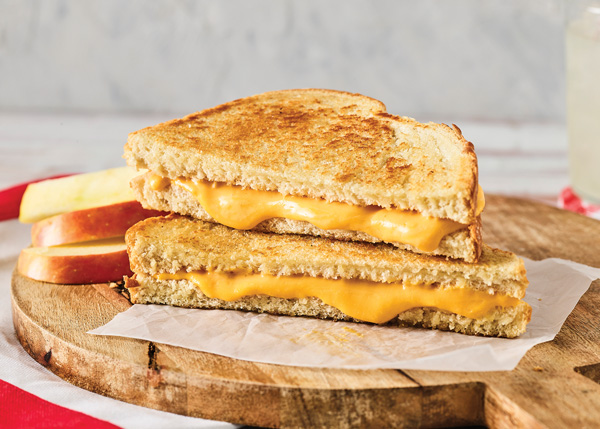
Tried n’ True: While modern flavors and trends are delicious, nostalgia is too. In fact, a whopping 20,000 fans cast their votes for America’s Favorite Grilled Cheese, asserting a fervor that’s unmatched when it comes to their perfect melt, and awarded The Classic the title of “America’s Favorite.” This comforting recipe pairs extra sharp melts with American singles on sliced white bread for a perfect, ooey-gooey bite that reminds you the cheese truly “makes” the sandwich.
VisitBordenCheese.com/grilled-cheese-day for other ooey-gooey grilled cheese recipes created for 2026.
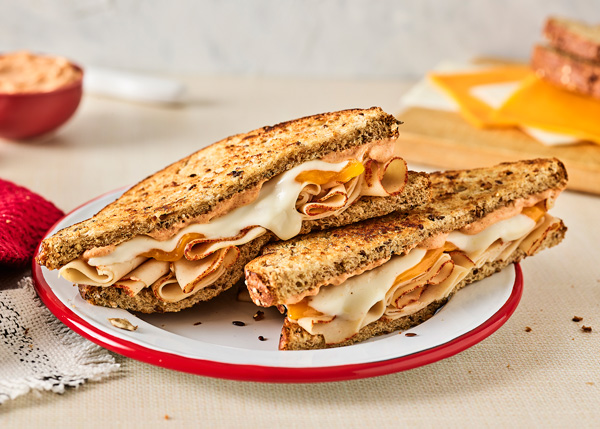
The Protein Powerhouse
- 1 tablespoon butter, softened
- 2 slices bread fortified with protein and fiber
- 2 Borden Mild Cheddar Slices
- 1 slice Borden Mozzarella Melts
- 5 ounces sliced chicken breast (deli-shaved or thinly carved)
“Powerhouse” Sauce:
- 2 tablespoons non-fat Greek yogurt
- 1 teaspoon Dijon mustard
- 1/2 teaspoon garlic powder
- 1/2 teaspoon smoked paprika
- Heat griddle to medium heat. Butter bread. Layer cheeses and chicken on top of bread.
- Place bread on griddle and cook until lightly toasted. Flip and cook other side.
- Remove sandwich from skillet or griddle.
- To make powerhouse sauce: Mix Greek yogurt, Dijon mustard, garlic powder and smoked paprika until well blended. Slice sandwich in half and drizzle with Powerhouse sauce.
The Classic
- 1 tablespoon butter, softened
- 2 slices white bread
- 2 slices Borden Extra Sharp Melts
- 2 slices Borden American Singles
- Heat skillet or griddle over medium heat.
- Spread butter on one side of each slice bread.
- Place cheese slices on unbuttered side of bread. Top with other slice of bread with butter facing upward.
- Place sandwich on skillet or griddle and cook 3-4 minutes on each side. Using spatula, lightly press sandwich down gently while cooking to melt cheese better.
- Remove from skillet or griddle and slice in half.

SOURCE:
Borden






-

 NEWS3 years ago
Suspect indicted, jailed in Tia Hutson murder
-
 NEWS4 years ago
2 hurt, 1 jailed after shooting incident north of Nocona
-
 NEWS3 years ago
SO investigating possible murder/suicide
-

 NEWS4 years ago
Wreck takes the life of BHS teen, 16
-
 NEWS3 years ago
Murder unsolved – 1 year later Tia Hutson’s family angry, frustrated with no arrest
-
 Show us something good9 years ago
Country music star children perform in Bowie
-
 100th Birthday4 years ago
Looking back at the 1958 Centennial edition of The Bowie News
-
NEWS3 years ago
Sheriff’s office called out to infant’s death